While it is completely anecdotal that people with musical inclinations tend to have an easier time learning Morse code (to my knowledge, there have been no double-blind studies to examine this supposed relationship) I suspect there may be some truth to this assertion if only because, try as I might, I’m seemingly unable to learn and use the code- and, of course, I’m not musically inclined at all. Somehow, this makes my deficiency more soothing. I’ve tried to learn Morse code using all sorts of techniques and mediums: I’ve used tapes, CDs, on-air listening, sending characters (on the premise that if I can make the noise, I can learn to hear it), mobile apps, and I’m sure other methods which escape my present memory. When I hear Morse code, it’s a jumble of sounds such that, for the most part, I can’t tell a dit from a dah.
This doesn’t prevent me from trying to continue to learn the language. I can cipher some characters and prosigns and phrases, so I must be picking something up. I’ve not developed the bad habit of trying to memorize a character chart and instead listen to the code only. It could be that I’ve simply not really given it my all. Whatever the reason, I’m just not adept at it, whether it’s because I don’t have a musical bone in my body, have no facility with foreign languages, or haven’t tried hard enough.
During my trip to Dayton Hamvention 2013, I ran across K8RA and bought a key from him- if I spent over one hundred dollars on something, my thought was, I’d definitely learn how to use it. I also saw Doug Hauff, W6AME, displaying his keys at his table for his sideline business, American Morse Equipment (you’ll note this write-up is about the KK2-A, which can be ordered by selecting the KK2. The -A update indicates that this kit uses springs instead of set screws for arm adjustment). I didn’t buy one then, mainly because I had spent all I was going to, but I did like the idea of a more substantial kit and knew that I’d later get one, which I did. What convinced me to purchase one, other than I like the idea of supporting locally owned small businesses, was the rugged quality- everything but the paddle handles is metal- and it is finished in the raw, so you can customize the finish if you’d like. I admit it’s a bit crazy to purchase another item that you can’t use just to put it together. But kit building isn’t really about the destination, it’s the journey that’s important. And for $71, you aren’t going to go broke playing with it. In what follows, I’ll show you how I finished my key and maybe it will give you an idea on what you’d like to do for a project you are working on or that is coming up soon. Or, maybe it will inspire you to purchase a key from Doug and finish it out yourself- I bet he wouldn’t mind!
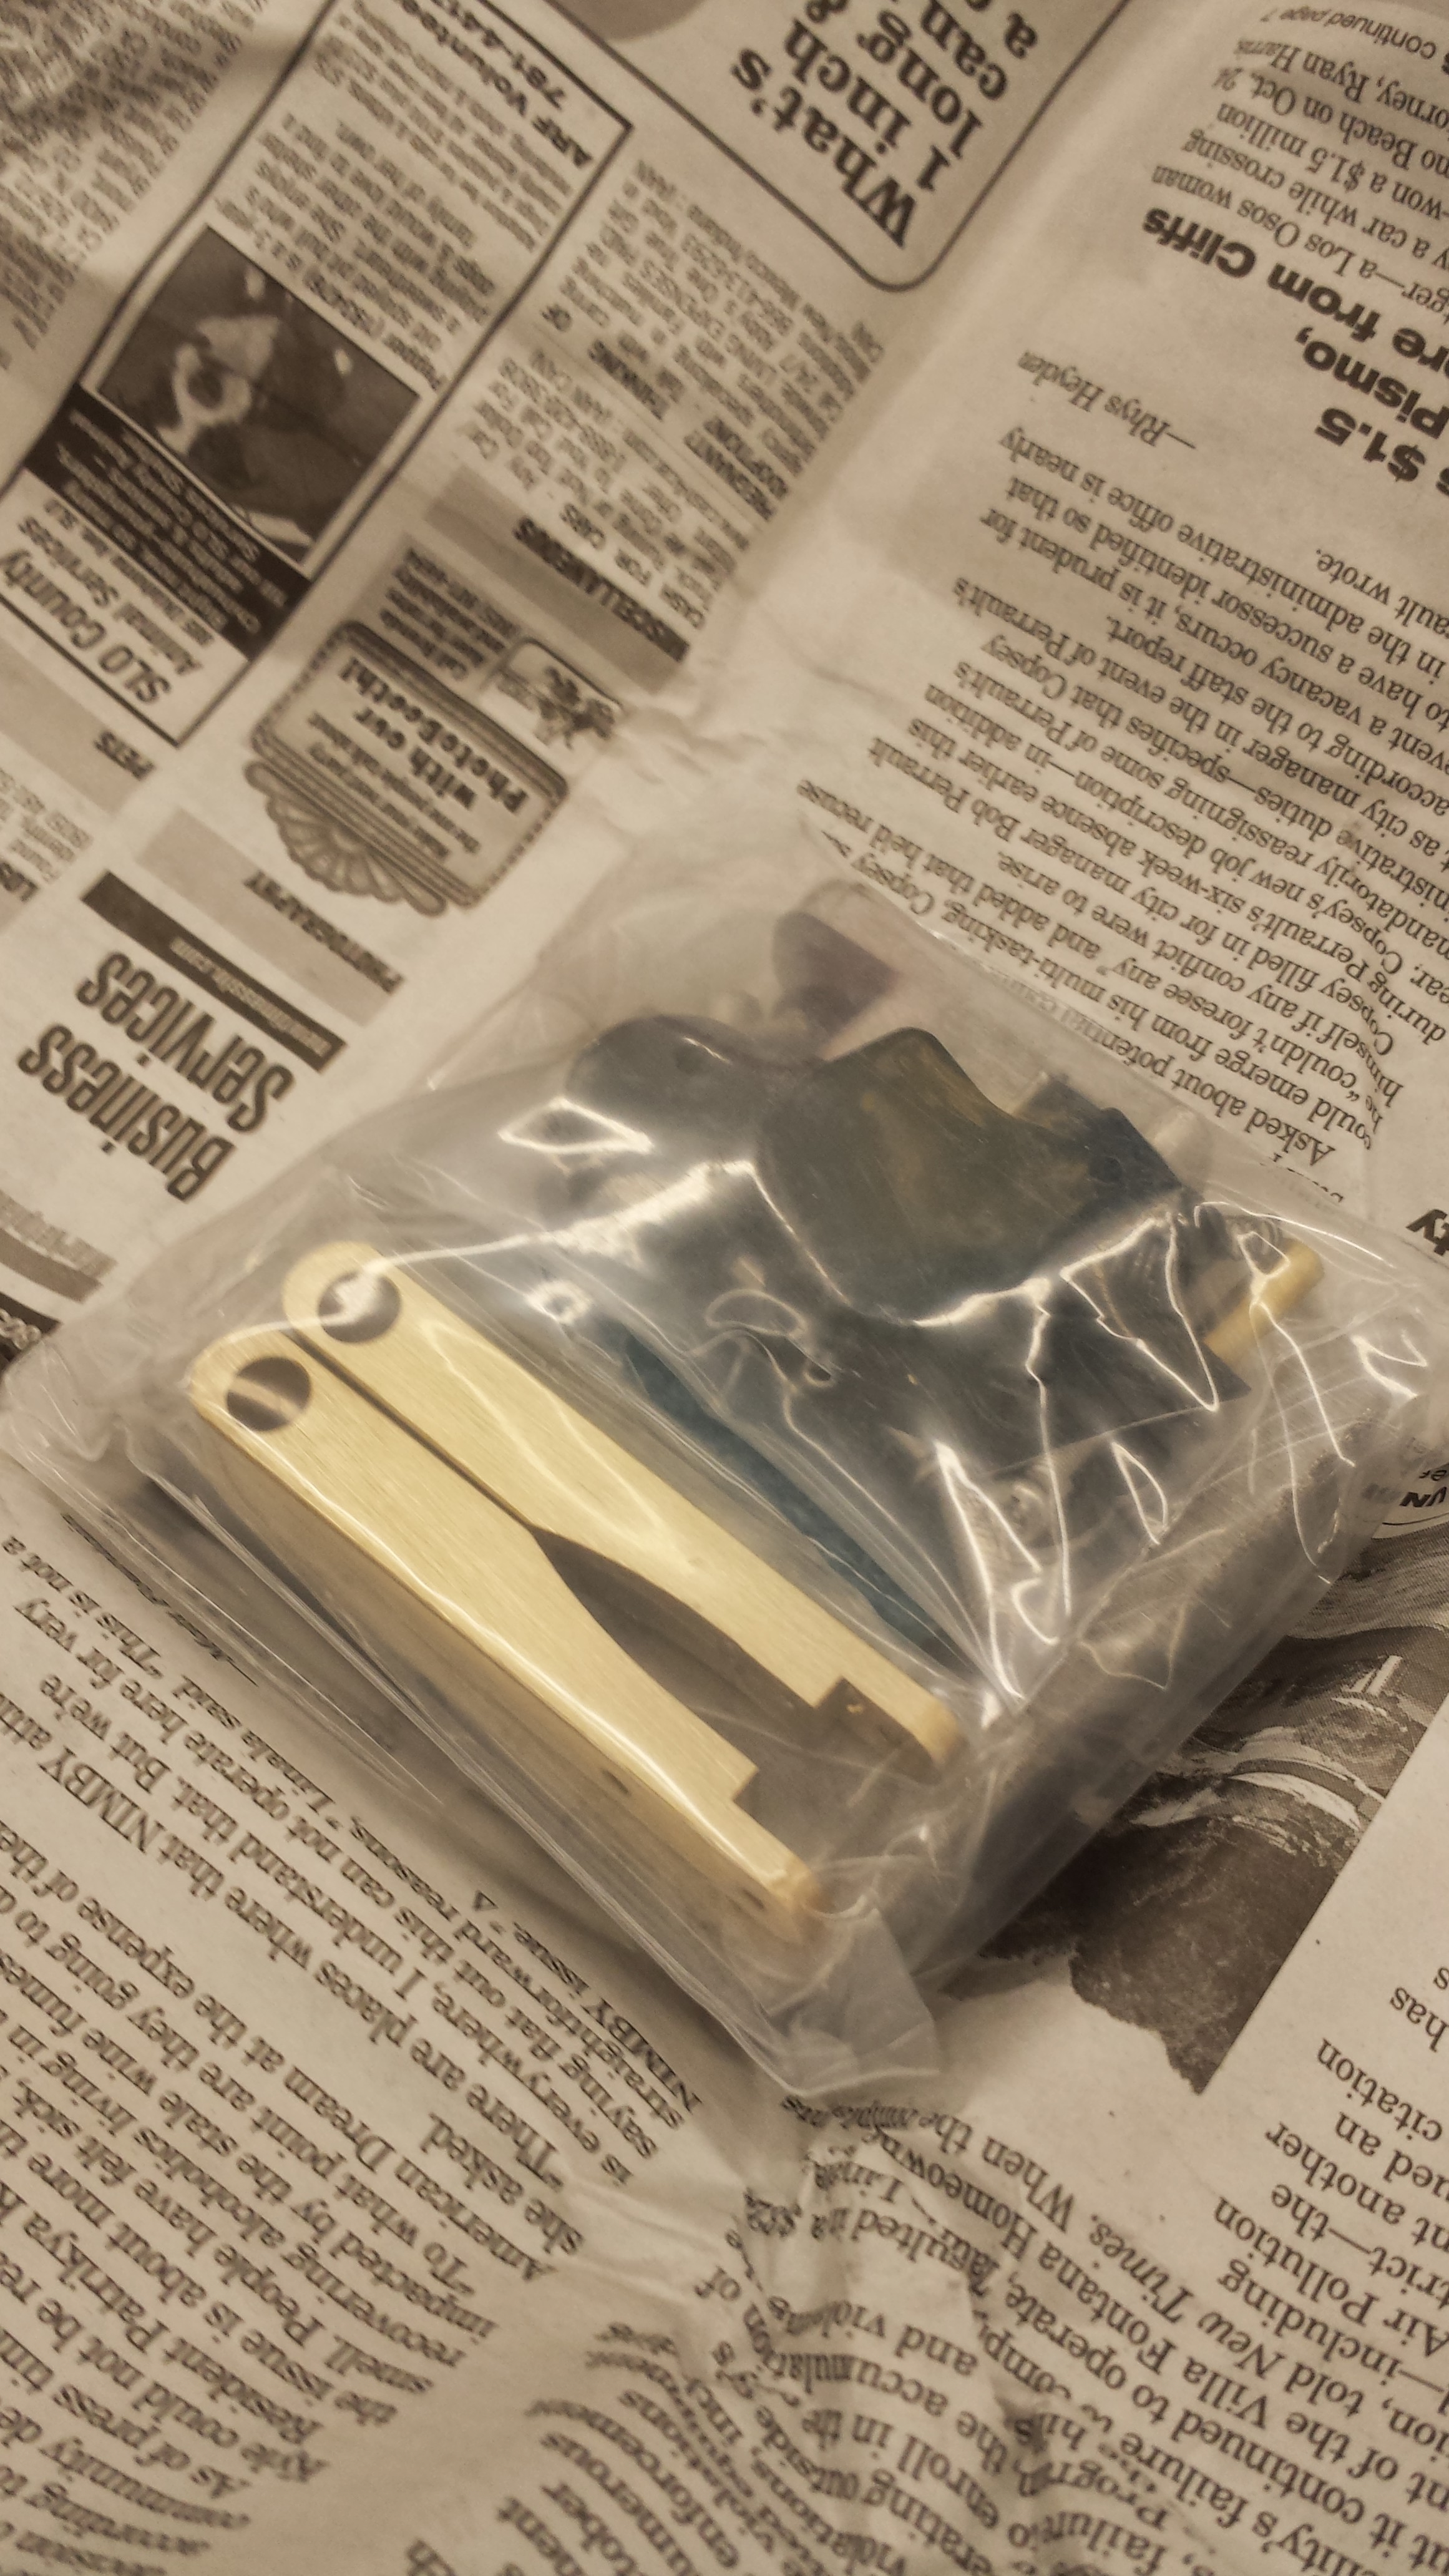
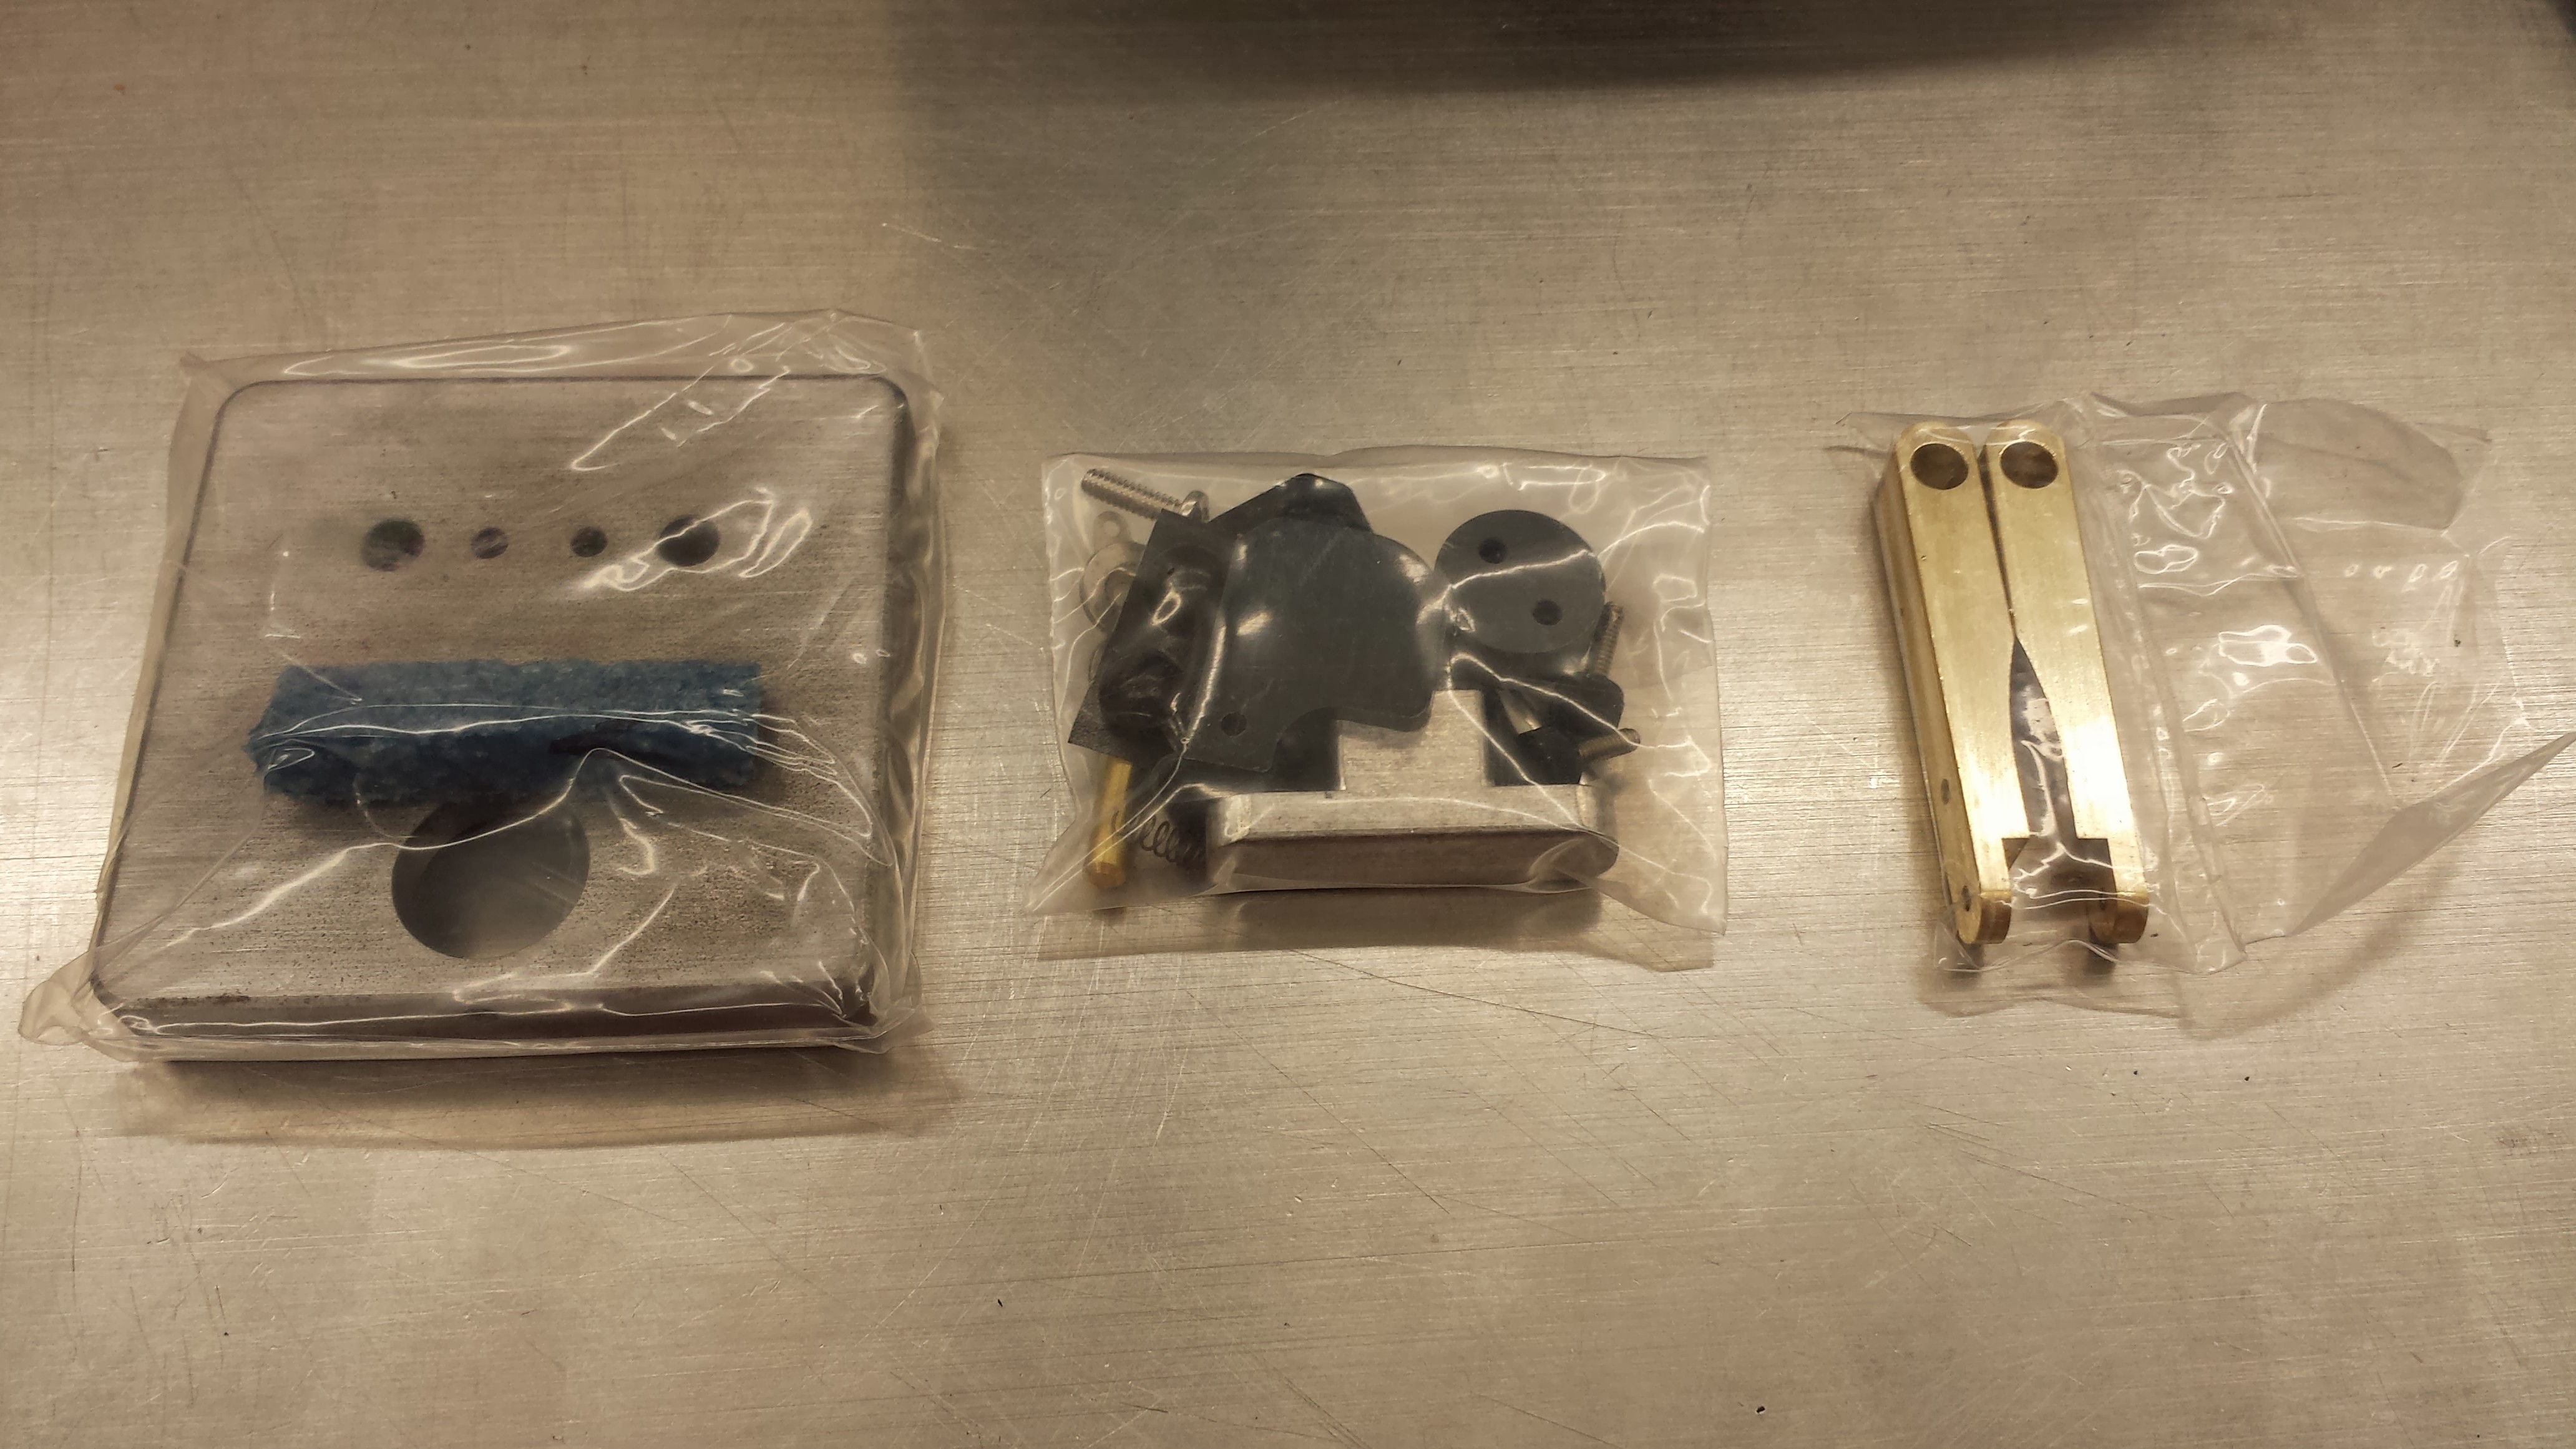
After ordering, they key came USPS Priority Mail, well packaged and in short order. As expected, it was broken down into parts, as seen in the following photo:
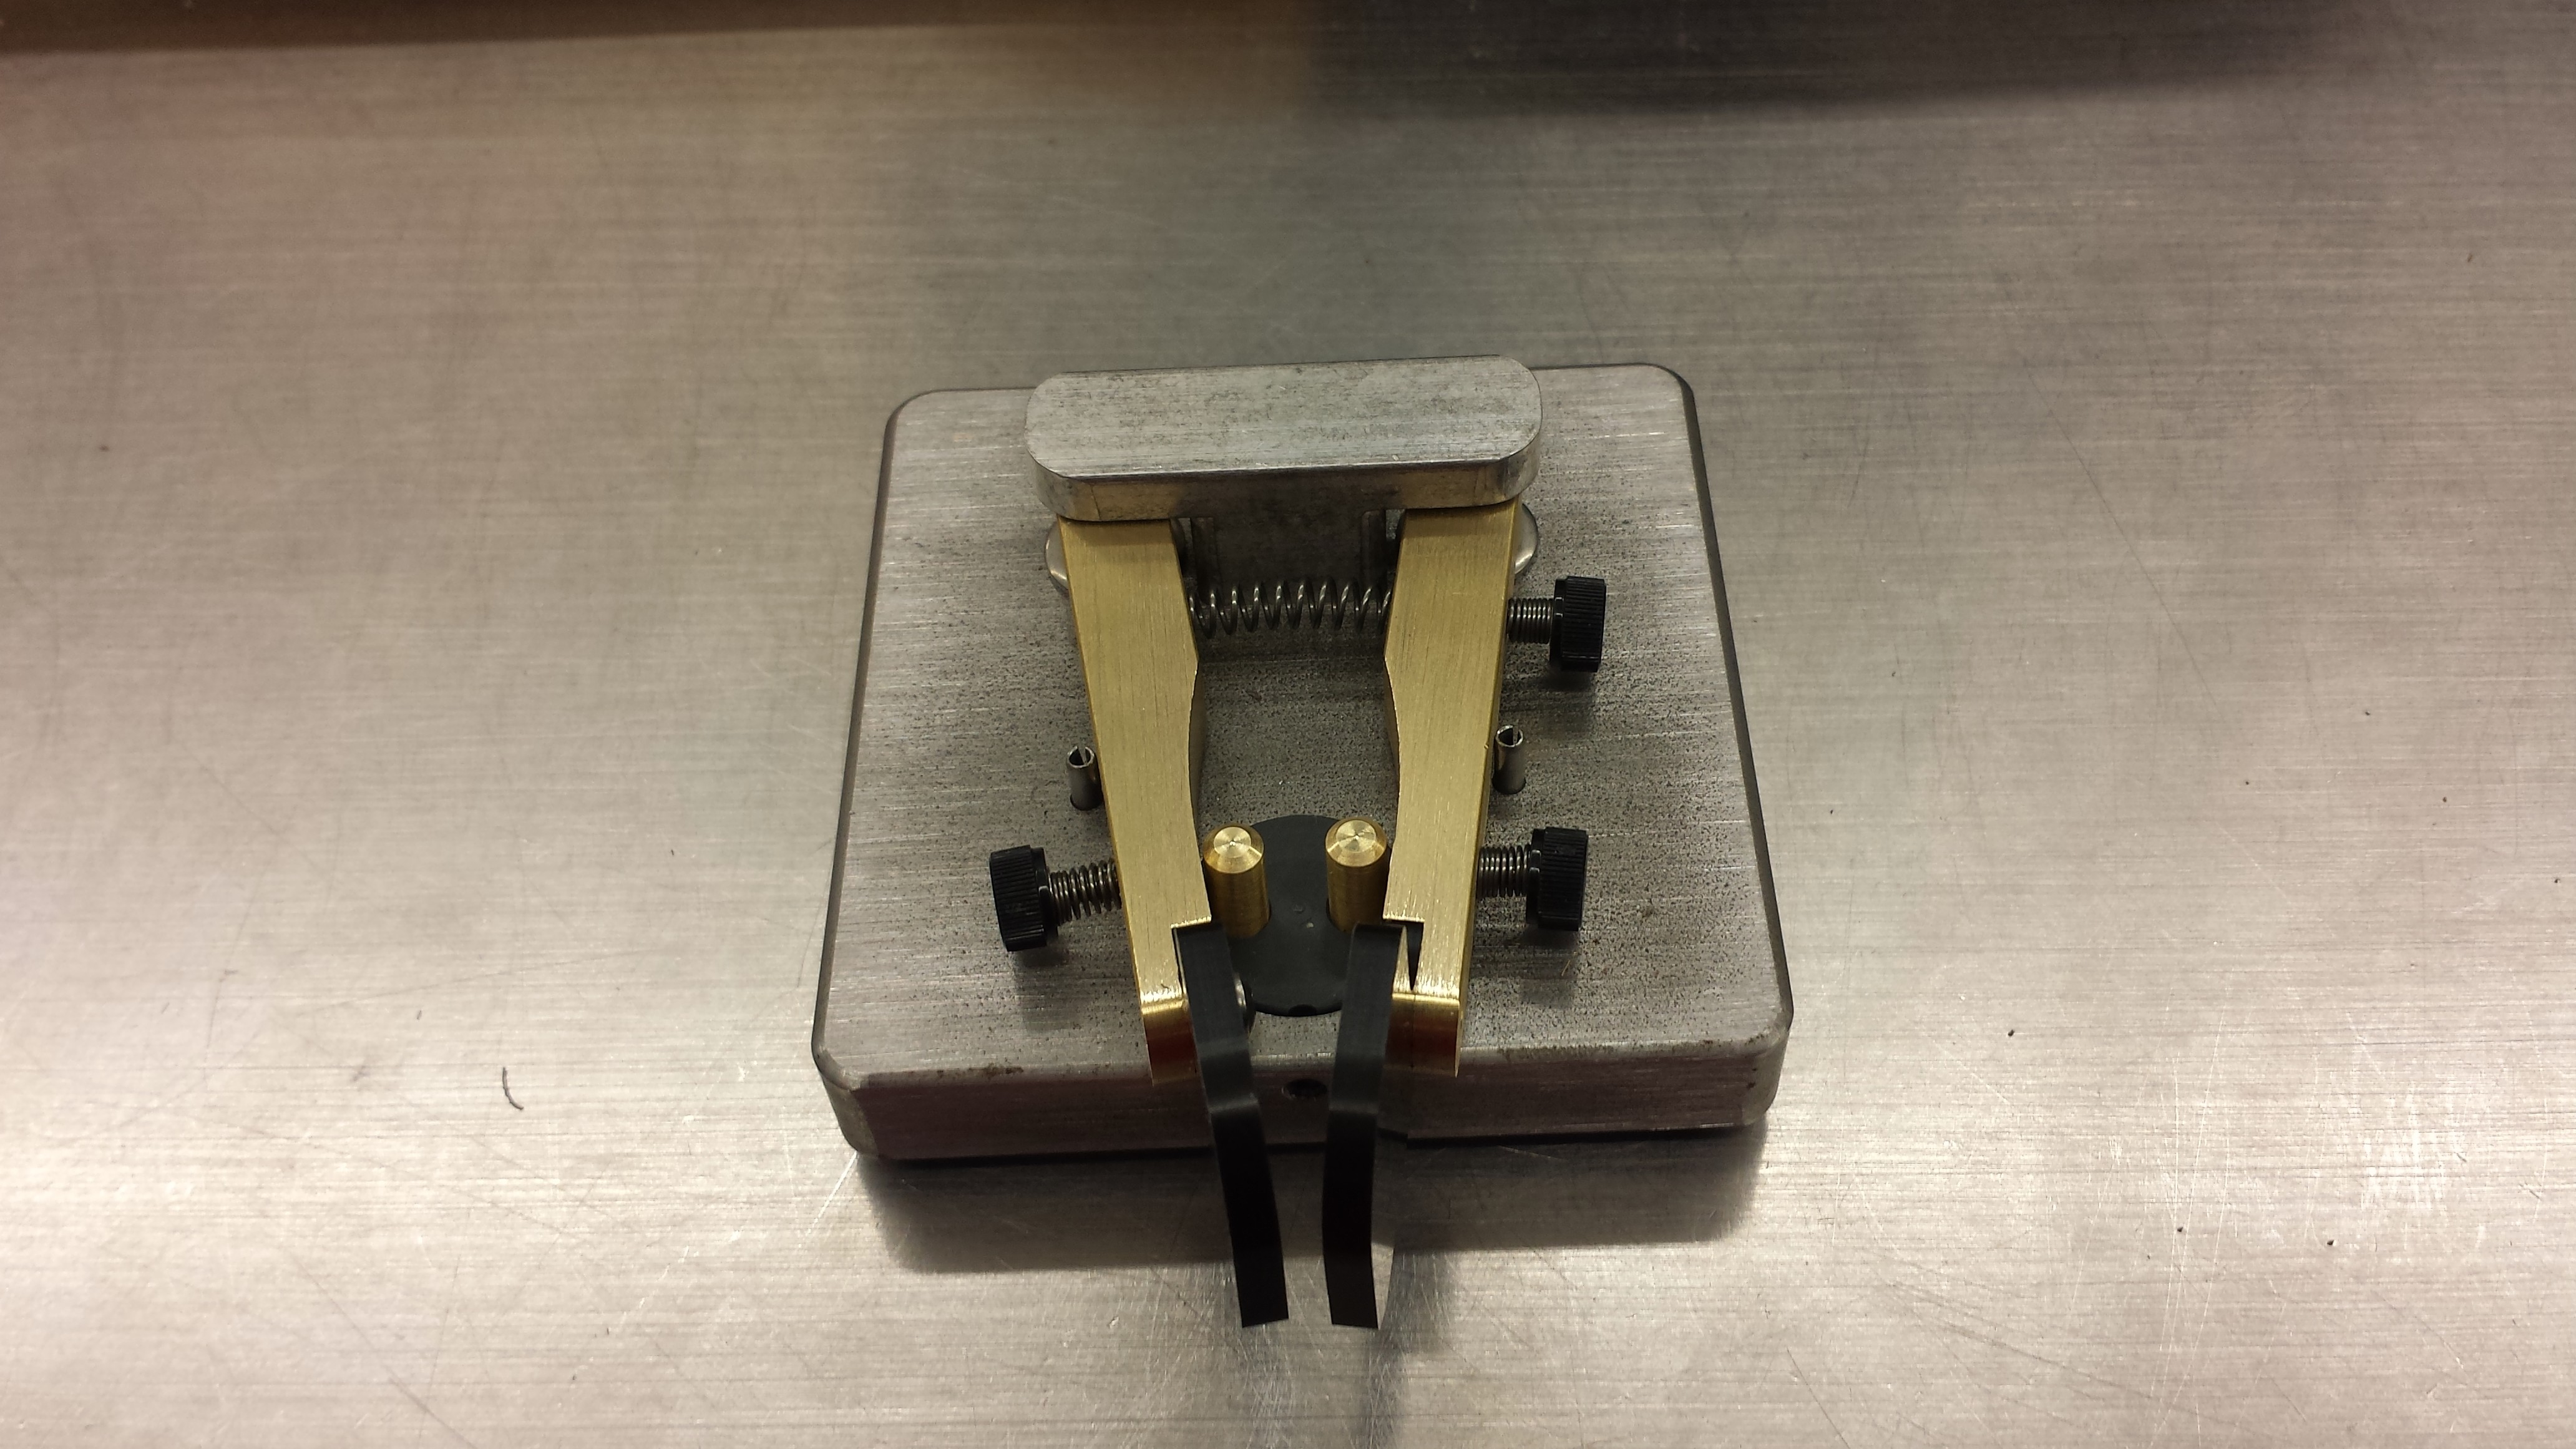
I then did a complete test fit of the entire kit.
As Doug mentions in his assembly PDF, don’t be surprised if you have to remove leftover filings or burs in order to assemble the key. Since the base is steel, be aware that the base can come with some light rusting which you’ll need to take care of before you paint your key (mine came with some light oxidation- this is normal!).
To best prep the surface of the base, start with 320 grit wet/dry sandpaper and liberally coat the base with some xylene (better known as Goof Off) and saturate the sandpaper as well. Any degreaser will work here- Simple Green would be a great one to use, also. Using a known flat surface, such as a worktable, to your advantage, lay the sandpaper grit side up on the corner of your flat surface while taking the base in hand and begin sanding.
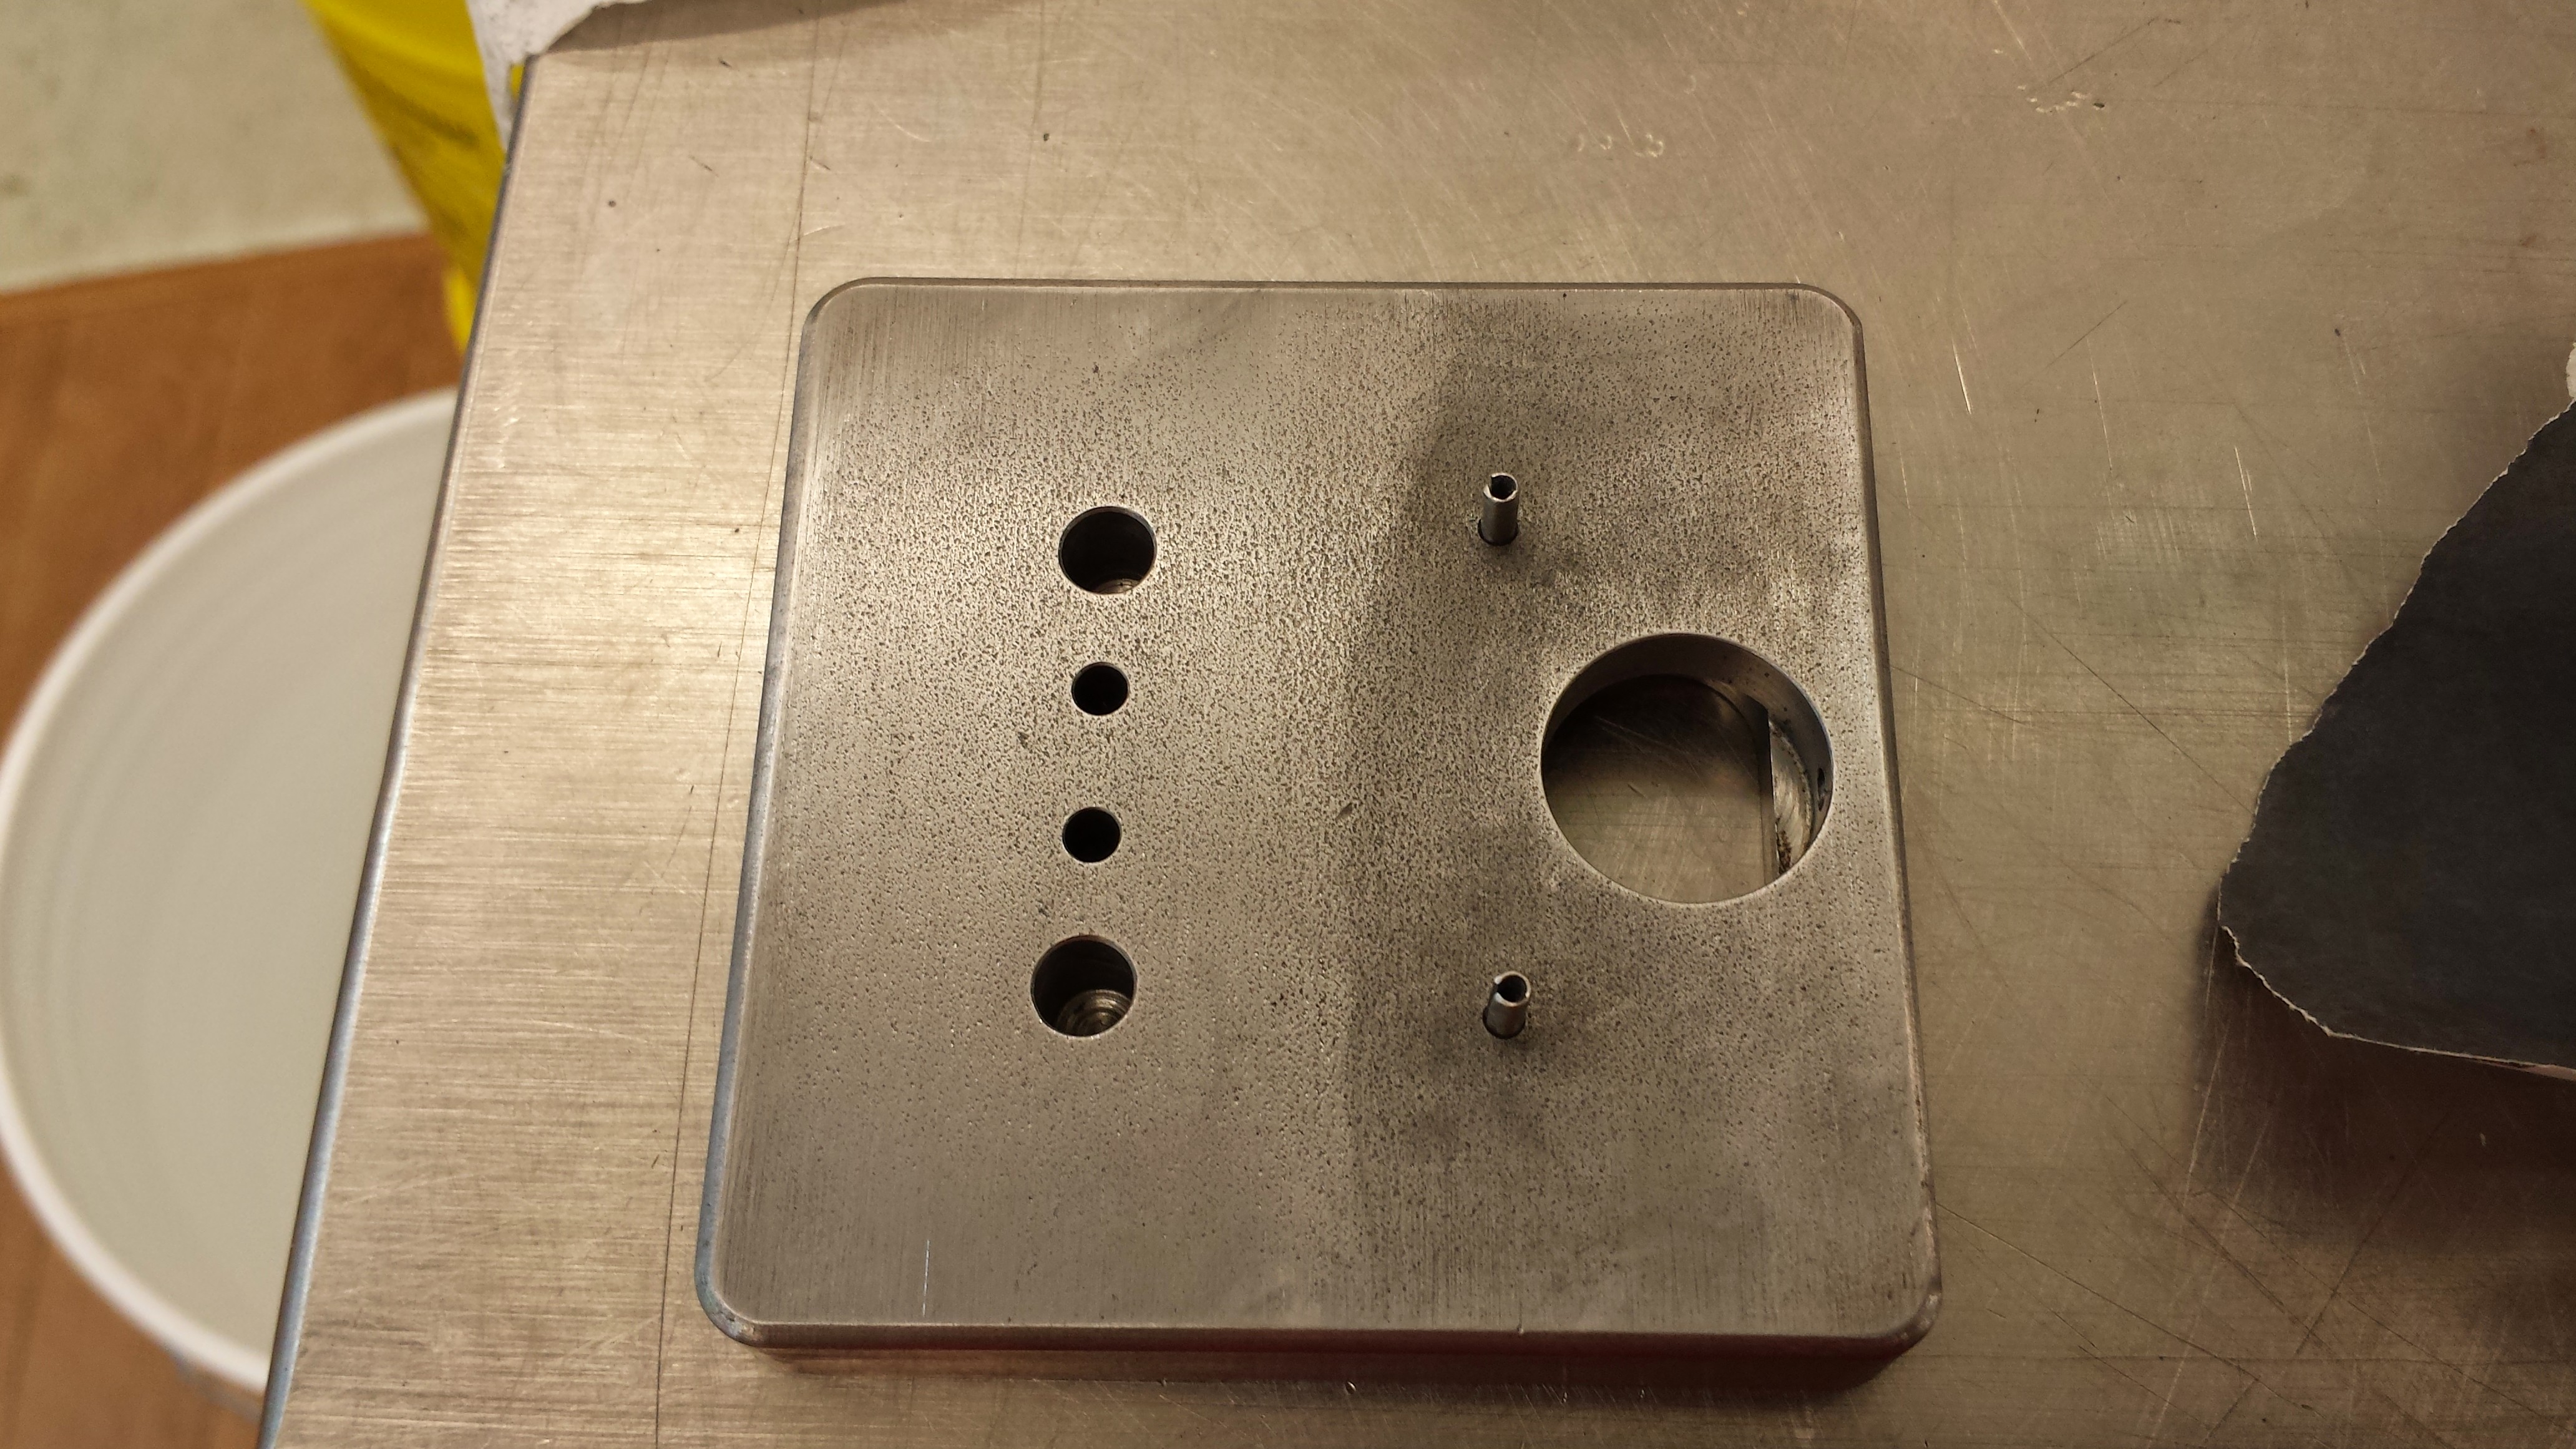
You’ll need to be careful to not damage the roll pins which are pre-inserted in the base. I sanded the bulk of the base on one side of the pins, rotated it, and did the other. Then, I sanded in between and against the pins using a small piece of wood stock (1×2) as a sanding block. Remember to let whatever fluid you use do the sanding work and rinse out your base and paper frequently. I finished the piece by sanding with 600 grit wet/dry sandpaper and then wiped down the whole base with denatured alcohol to remove any remaining residue.
If you aren’t planning on painting your base and would instead like to clear coat it with either lacquer or arcylic spray, you could put a high shine on the steel with some 1500 grit wet/dry sandpaper with some metal polish- or use a buffing wheel with some jewelers rouge, if you have one handy or know of someone who does.
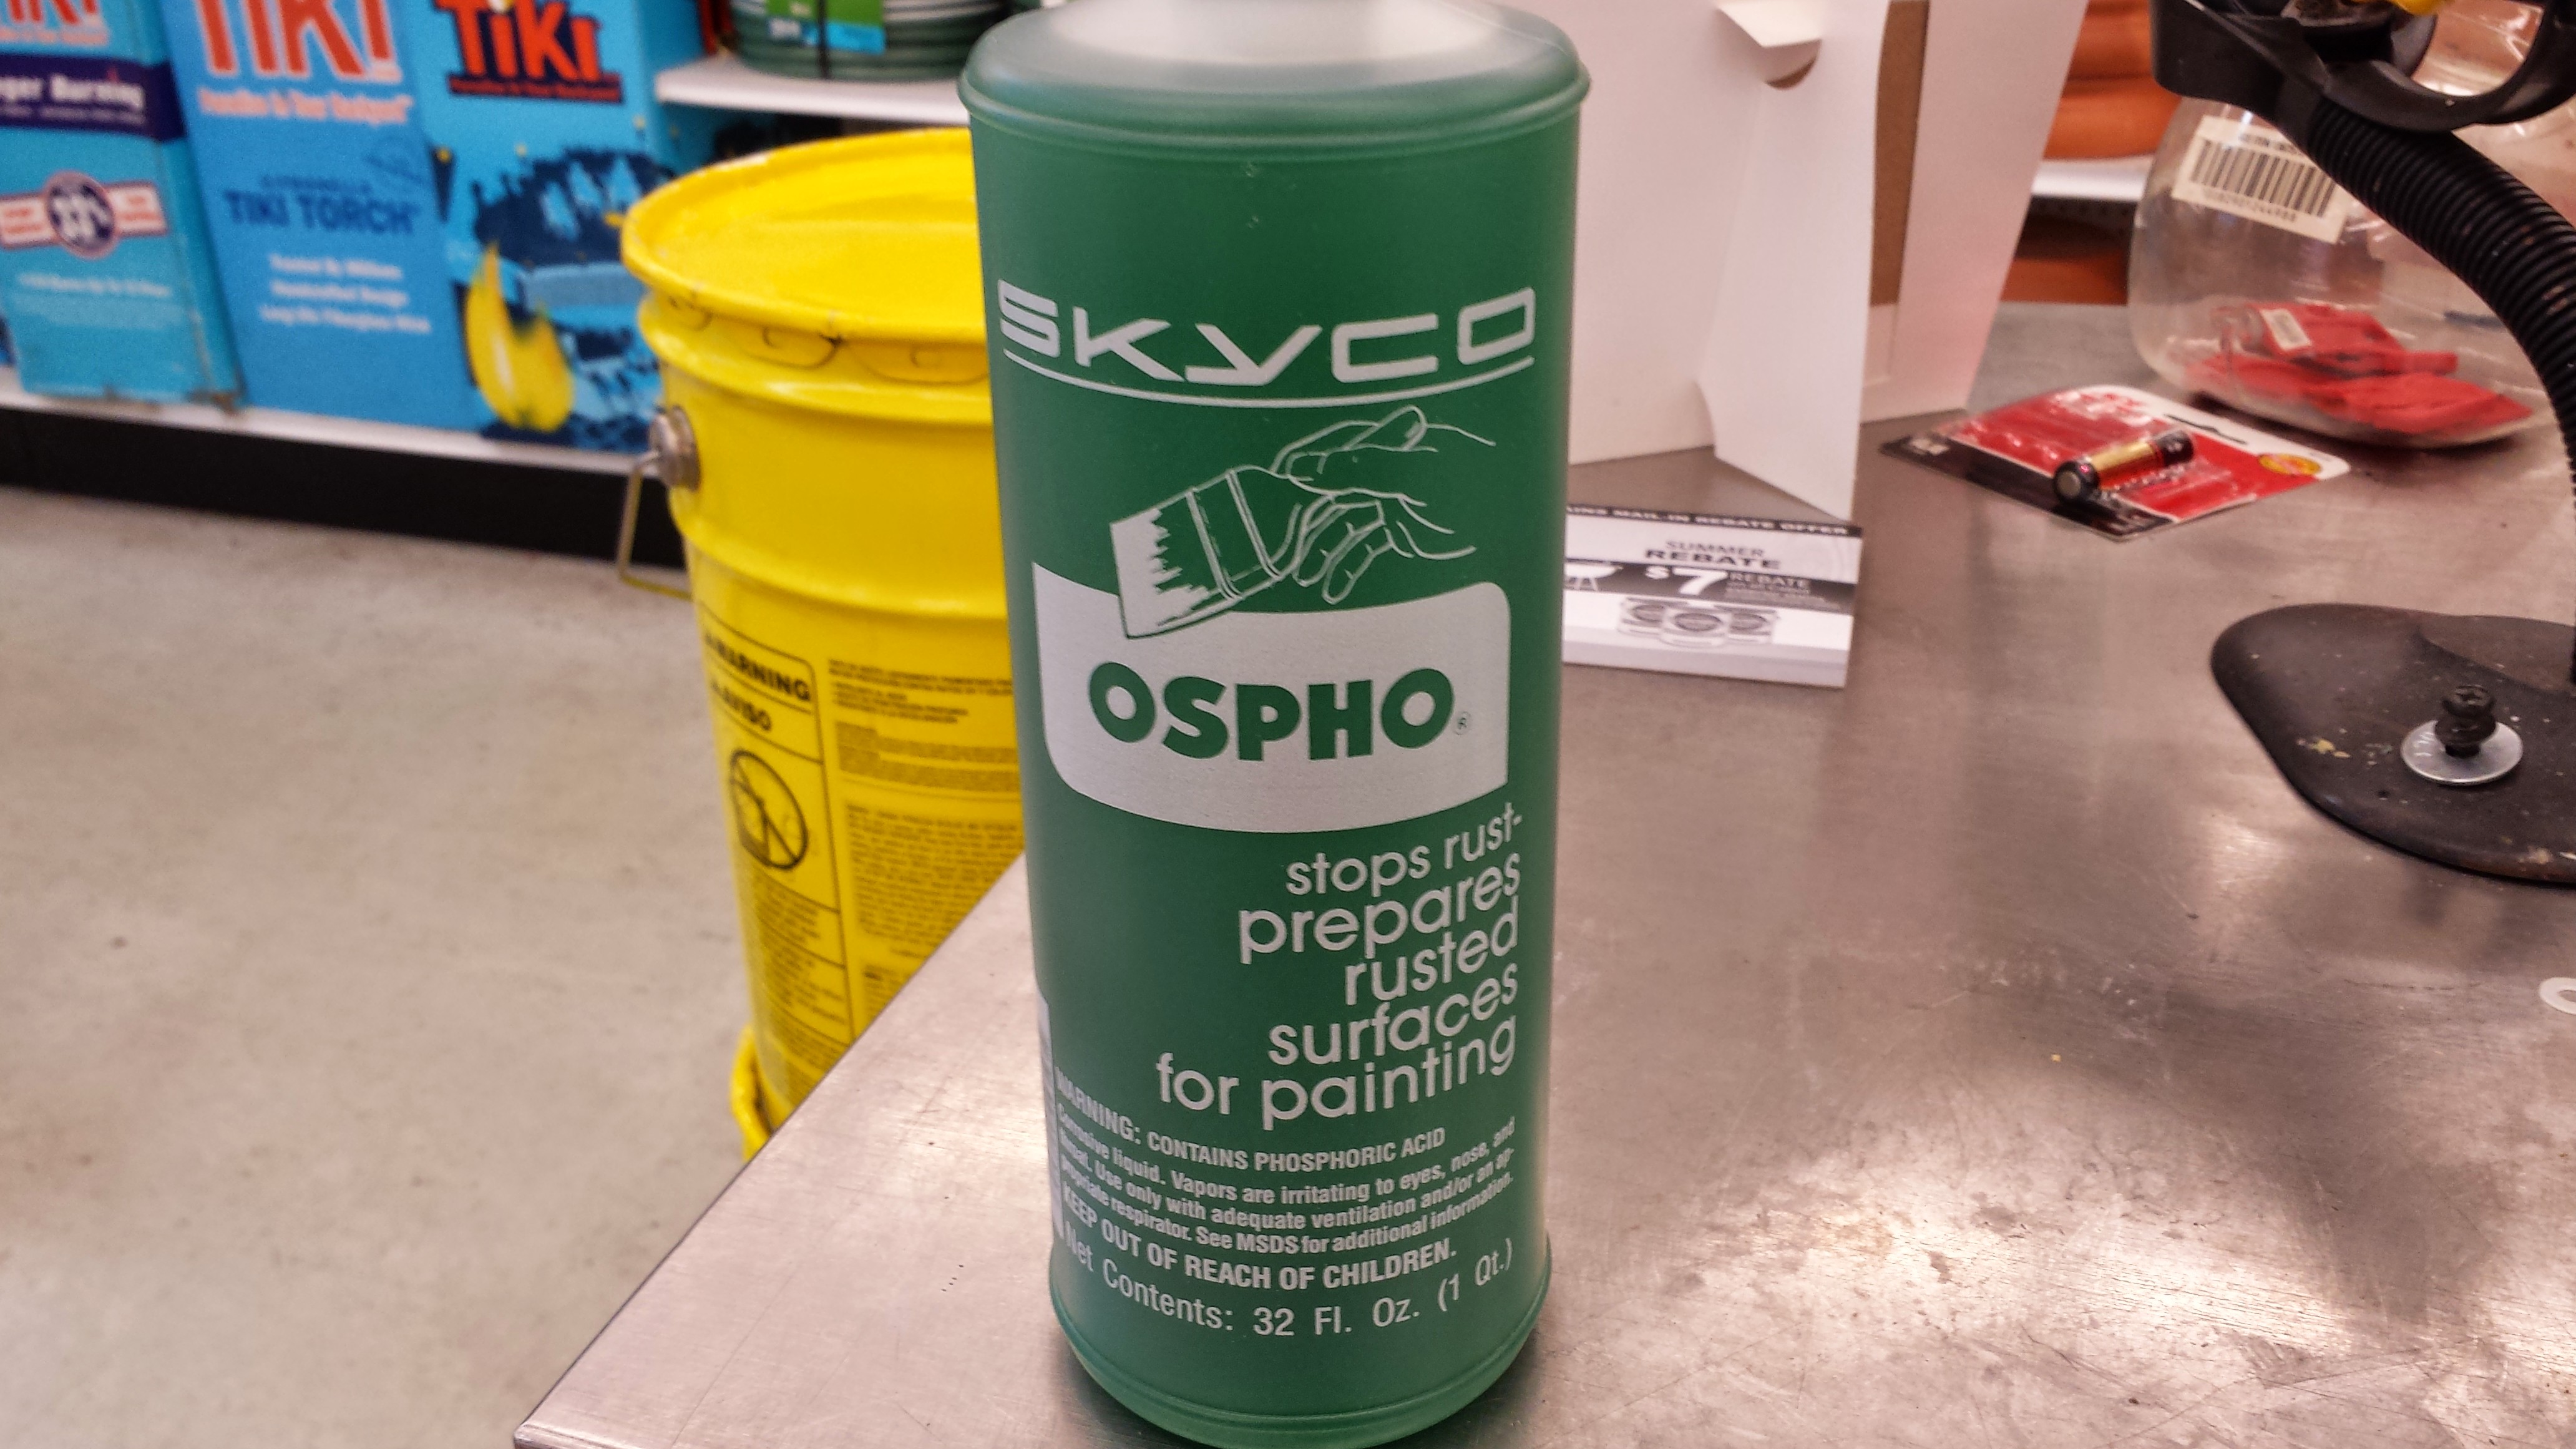
If you are like me, you like to do a complete and thorough job. I don’t believe in doing the same job twice- which means I wasn’t going to want to paint my key again. So, I went to my go to product for just such a project: Ospho. I know this product can be found (or at least ordered for you) at your local ACE Hardware, though I’m sure there are other dealers. Ospho is really nothing more than a solution of phosphoric acid, which converts iron oxide (rust) into iron phosphate. By following the very simple instructions on the bottle (which, briefly, are: 1) remove large bits of rust, 2) paint on thin coat, 3) let dry 24 hours, 4) repeat if rust remains- but then, you probably didn’t do step one very well), you will end up with a piece of metal which is both sealed and primed and ready for topcoating. I also coated the aluminium “T” with Ospho for the priming benefits.
Wait 24 hours for Ospho to do its work. The base should be dry to the touch, darker, and may have white powder on surface, which you should dust off. If you applied too much Ospho, simply sand smooth for a uniform finish. It’s already done it’s job and a light sanding won’t hurt anything.
You can Ospho the brass arms, but I elected not to since they were in great shape and I had no plans to coat them. I simply polished them with some Flitz and 1500 grit wet/dry sandpaper.
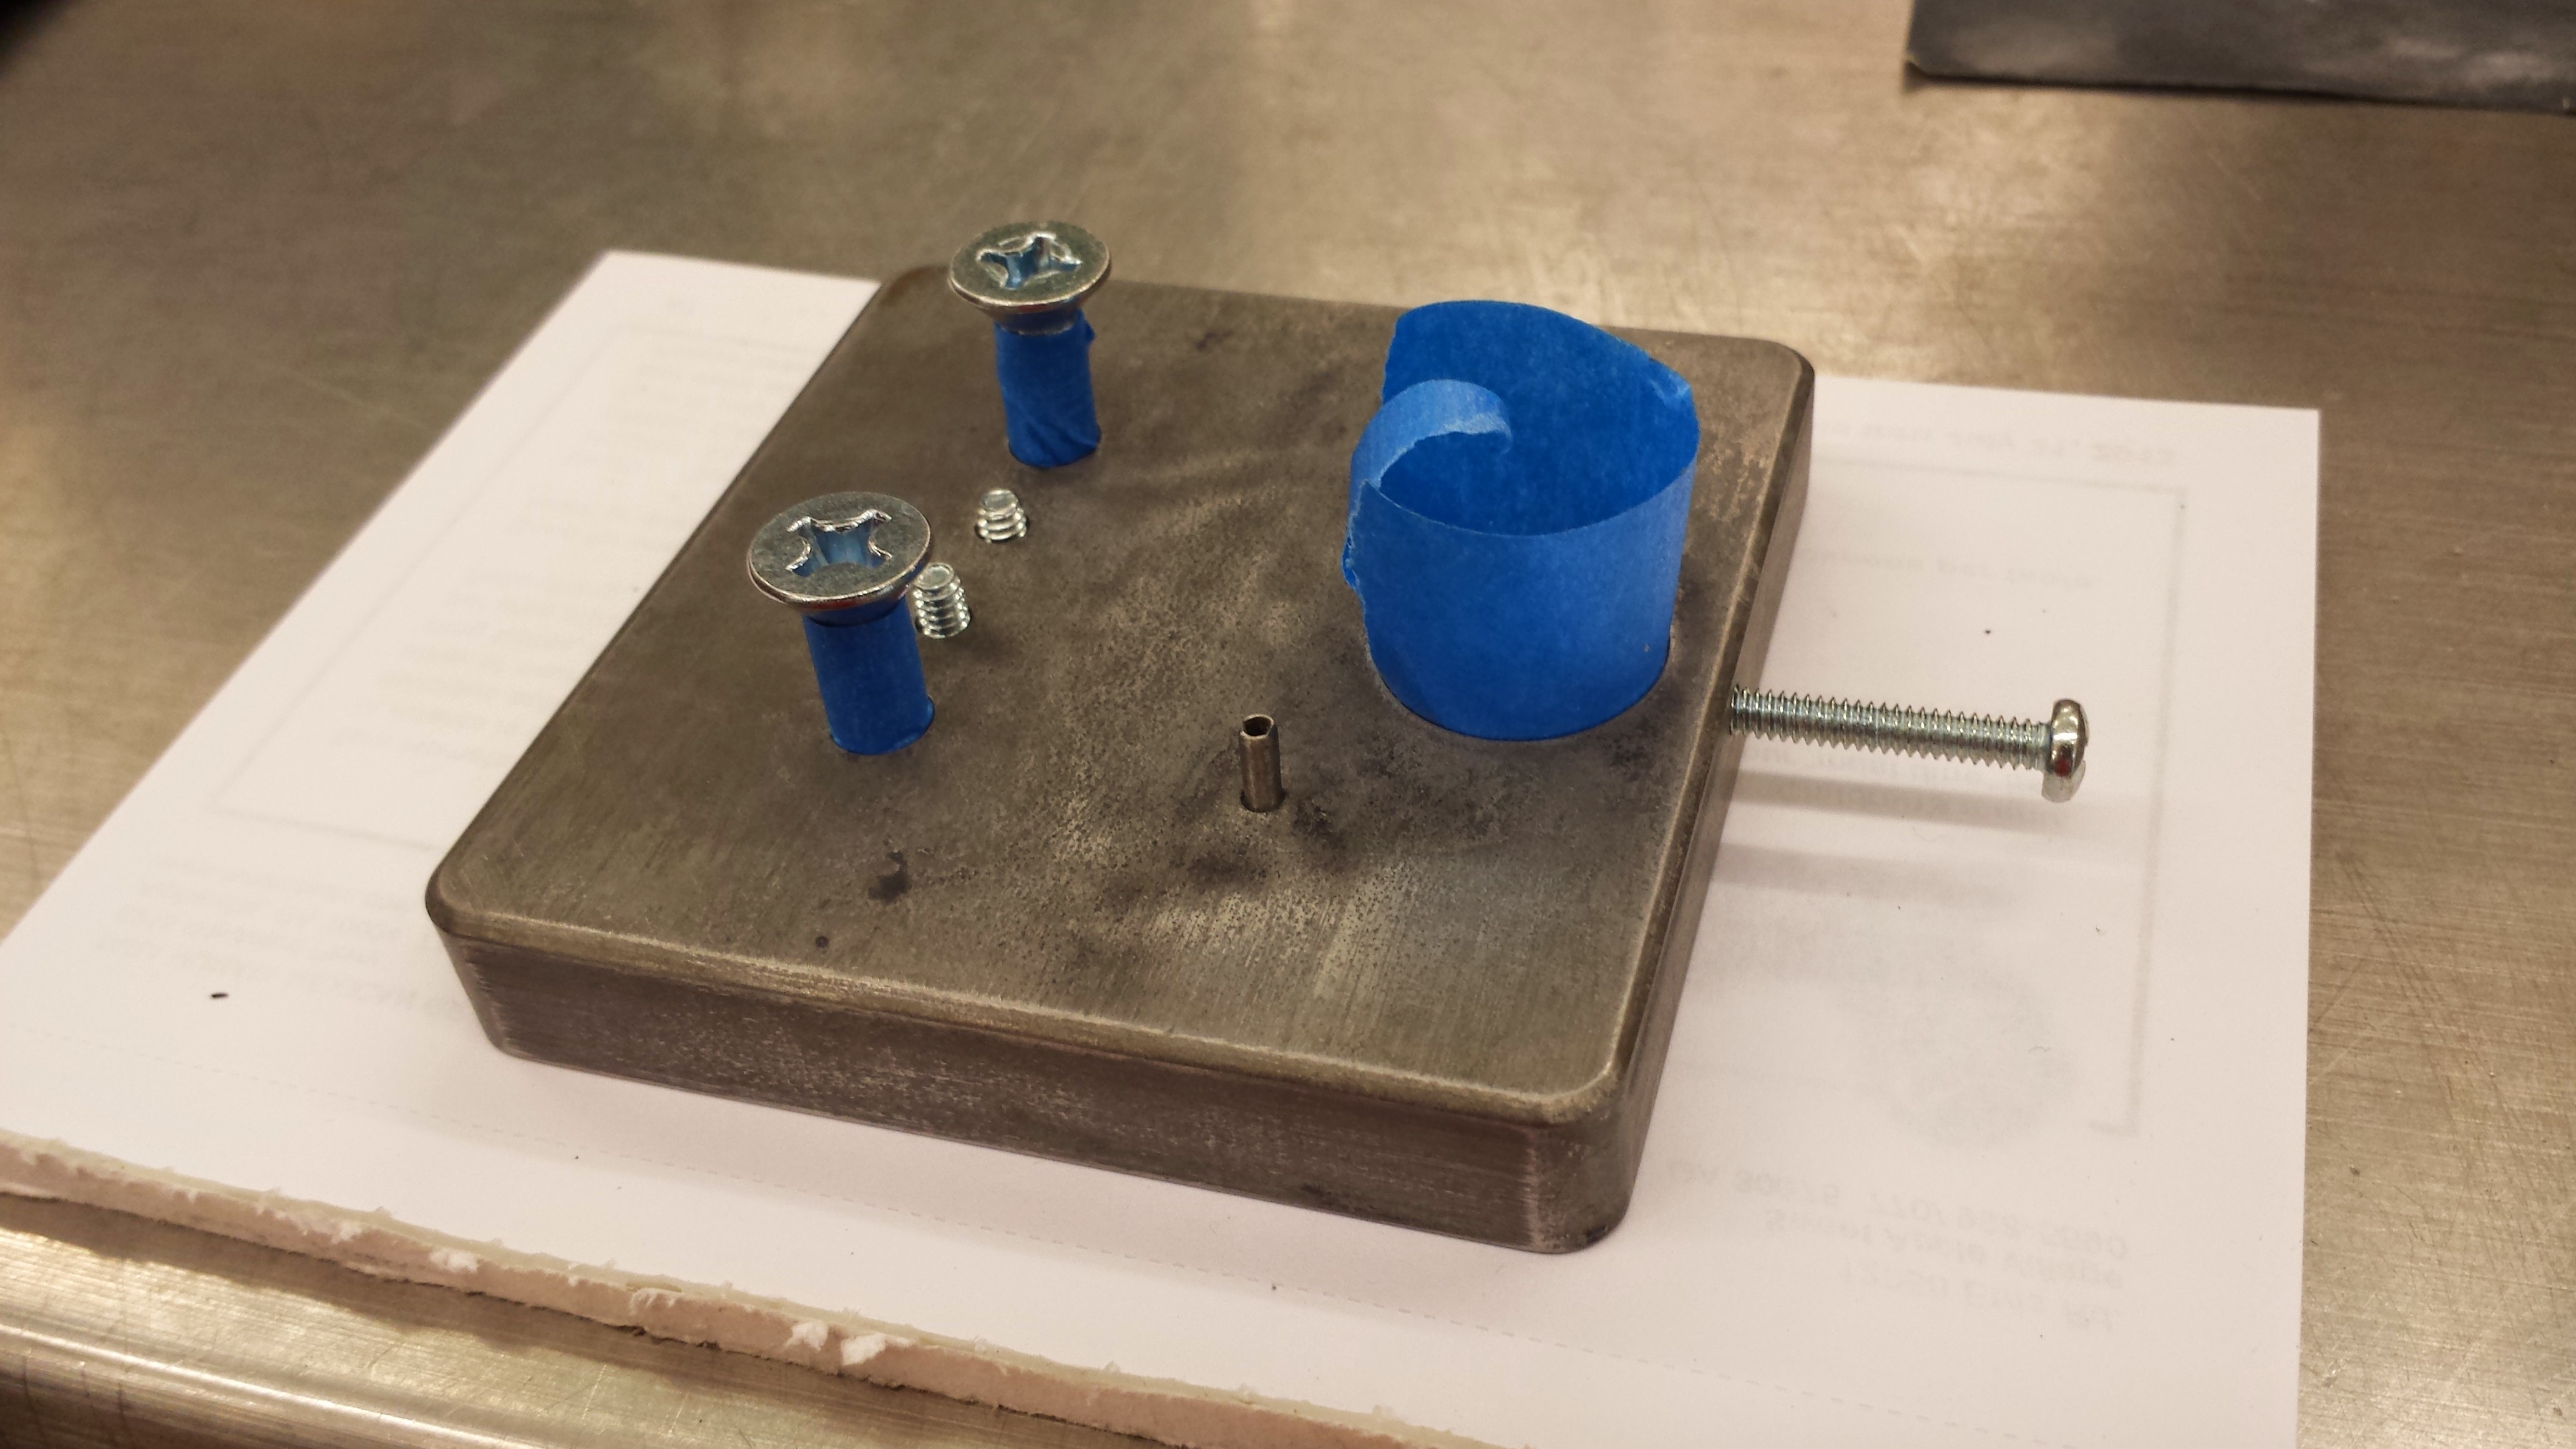
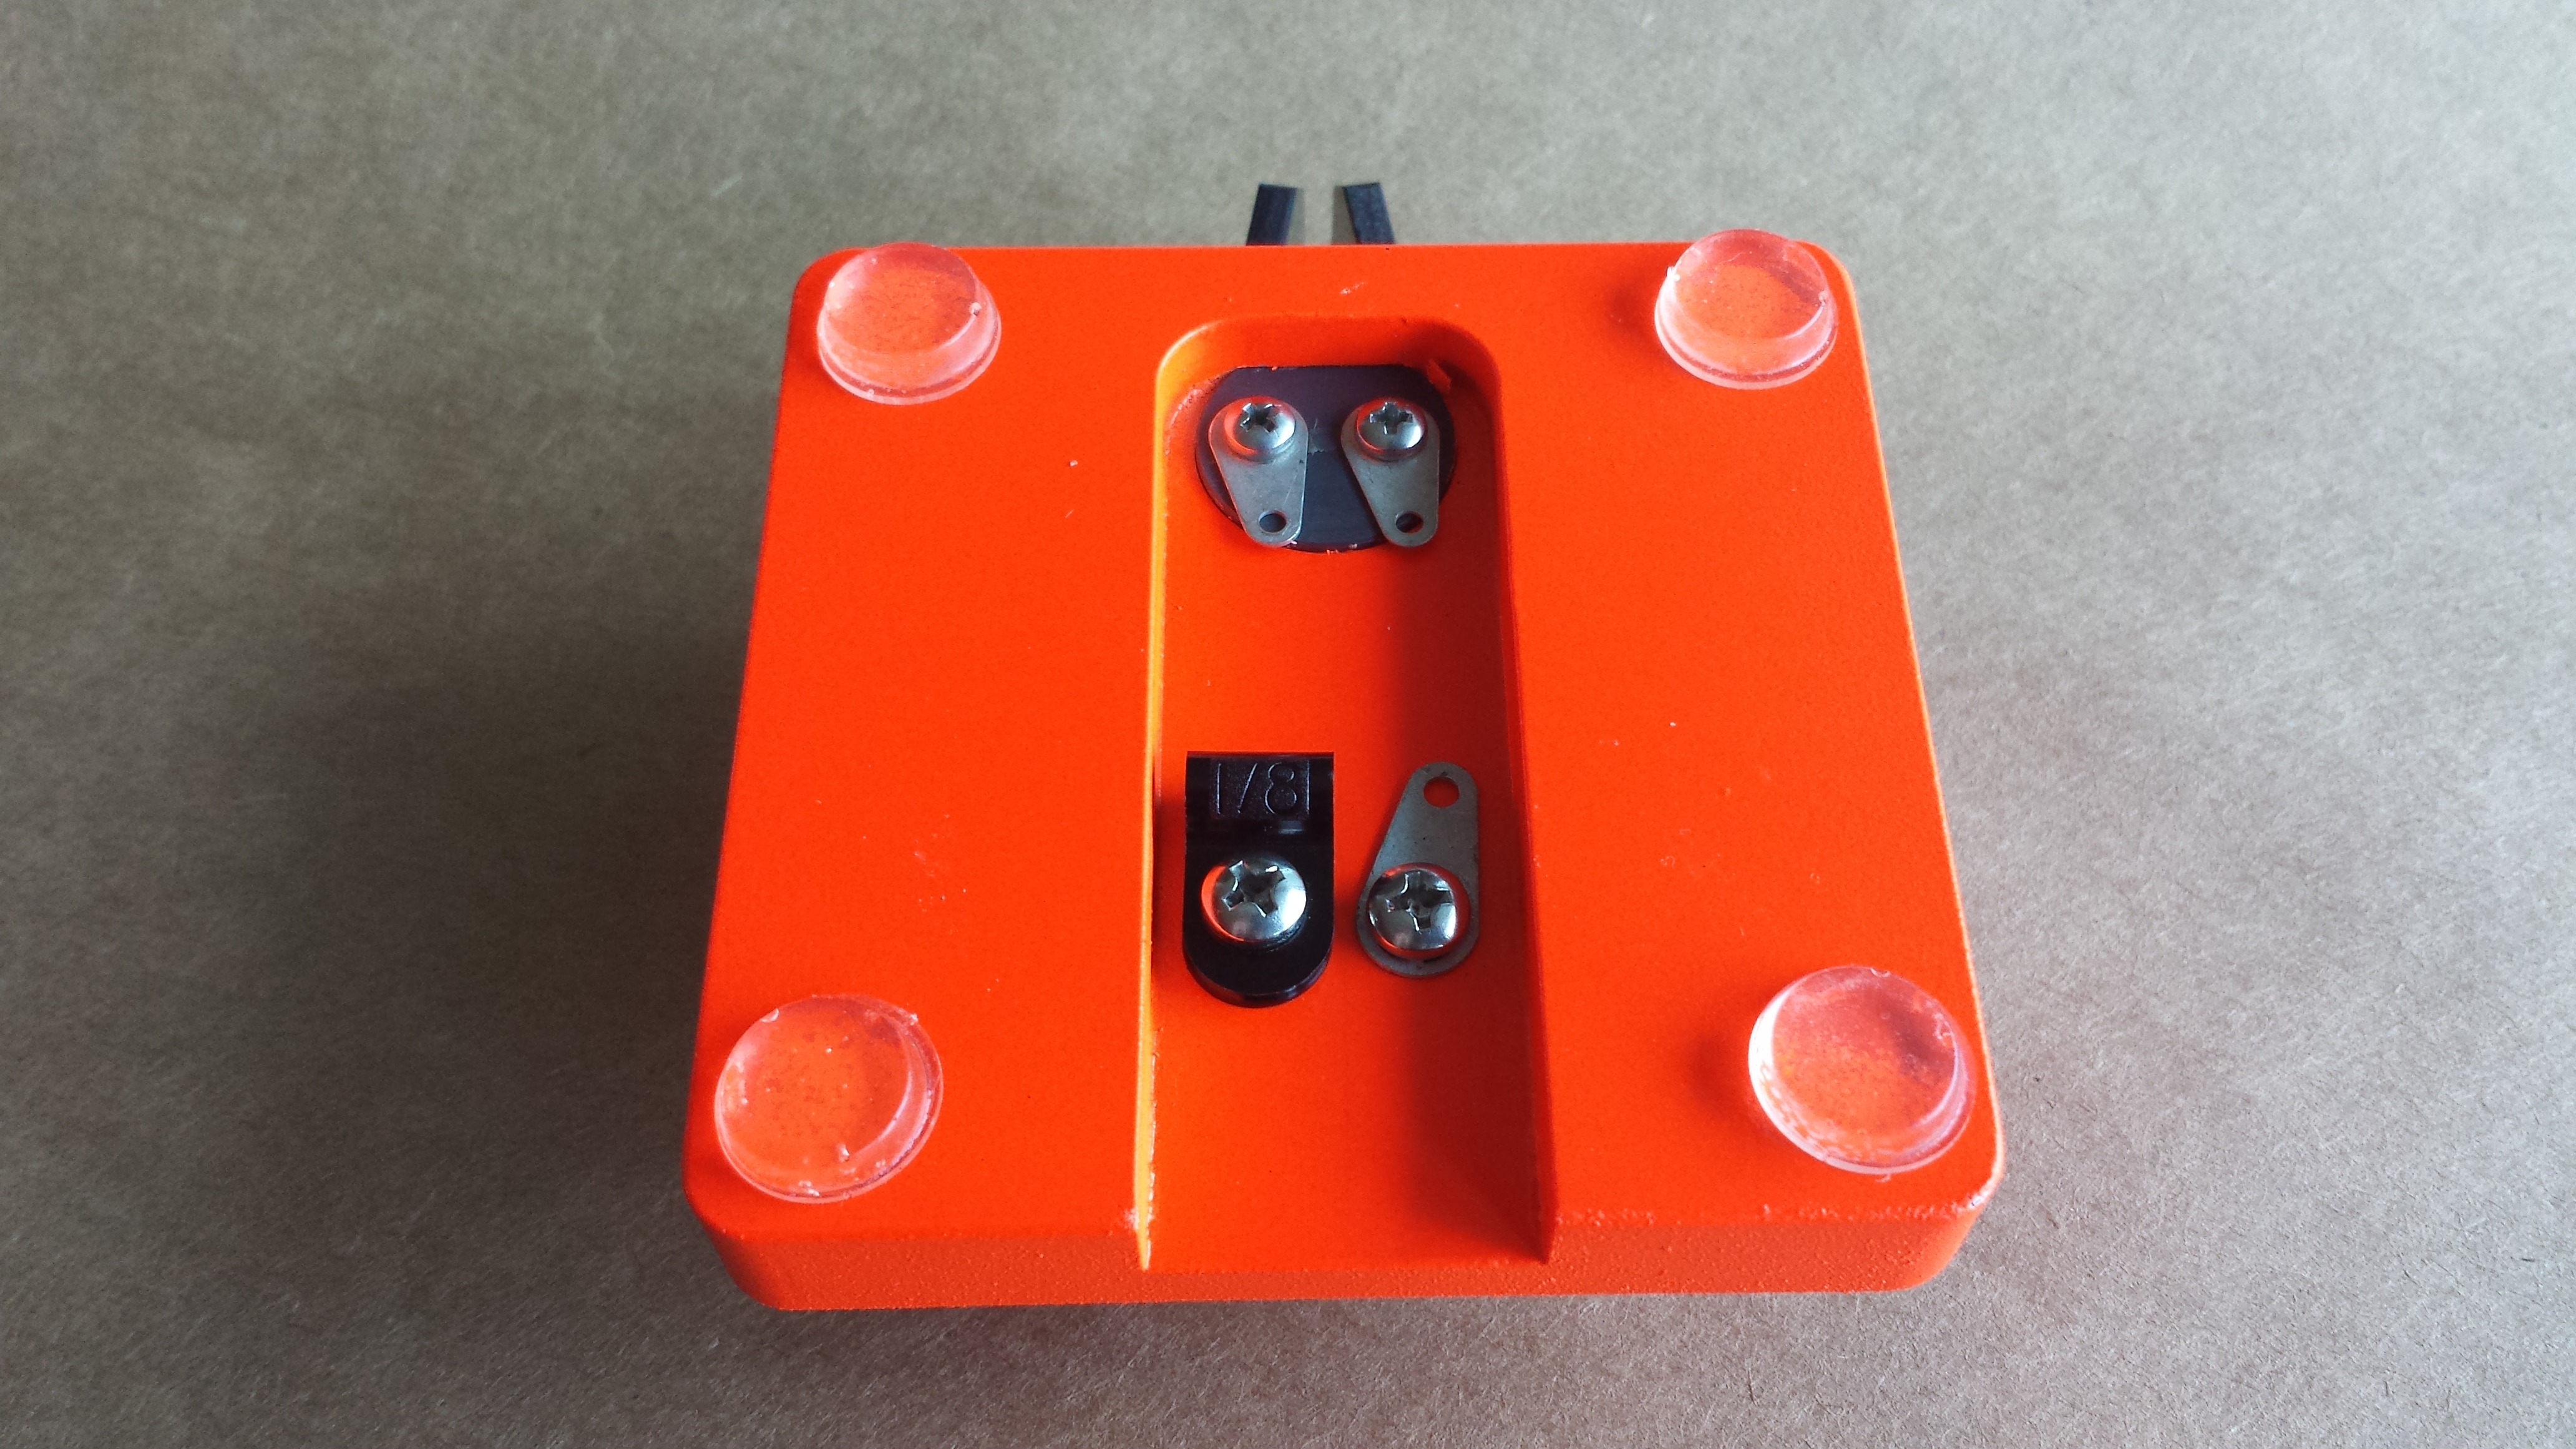
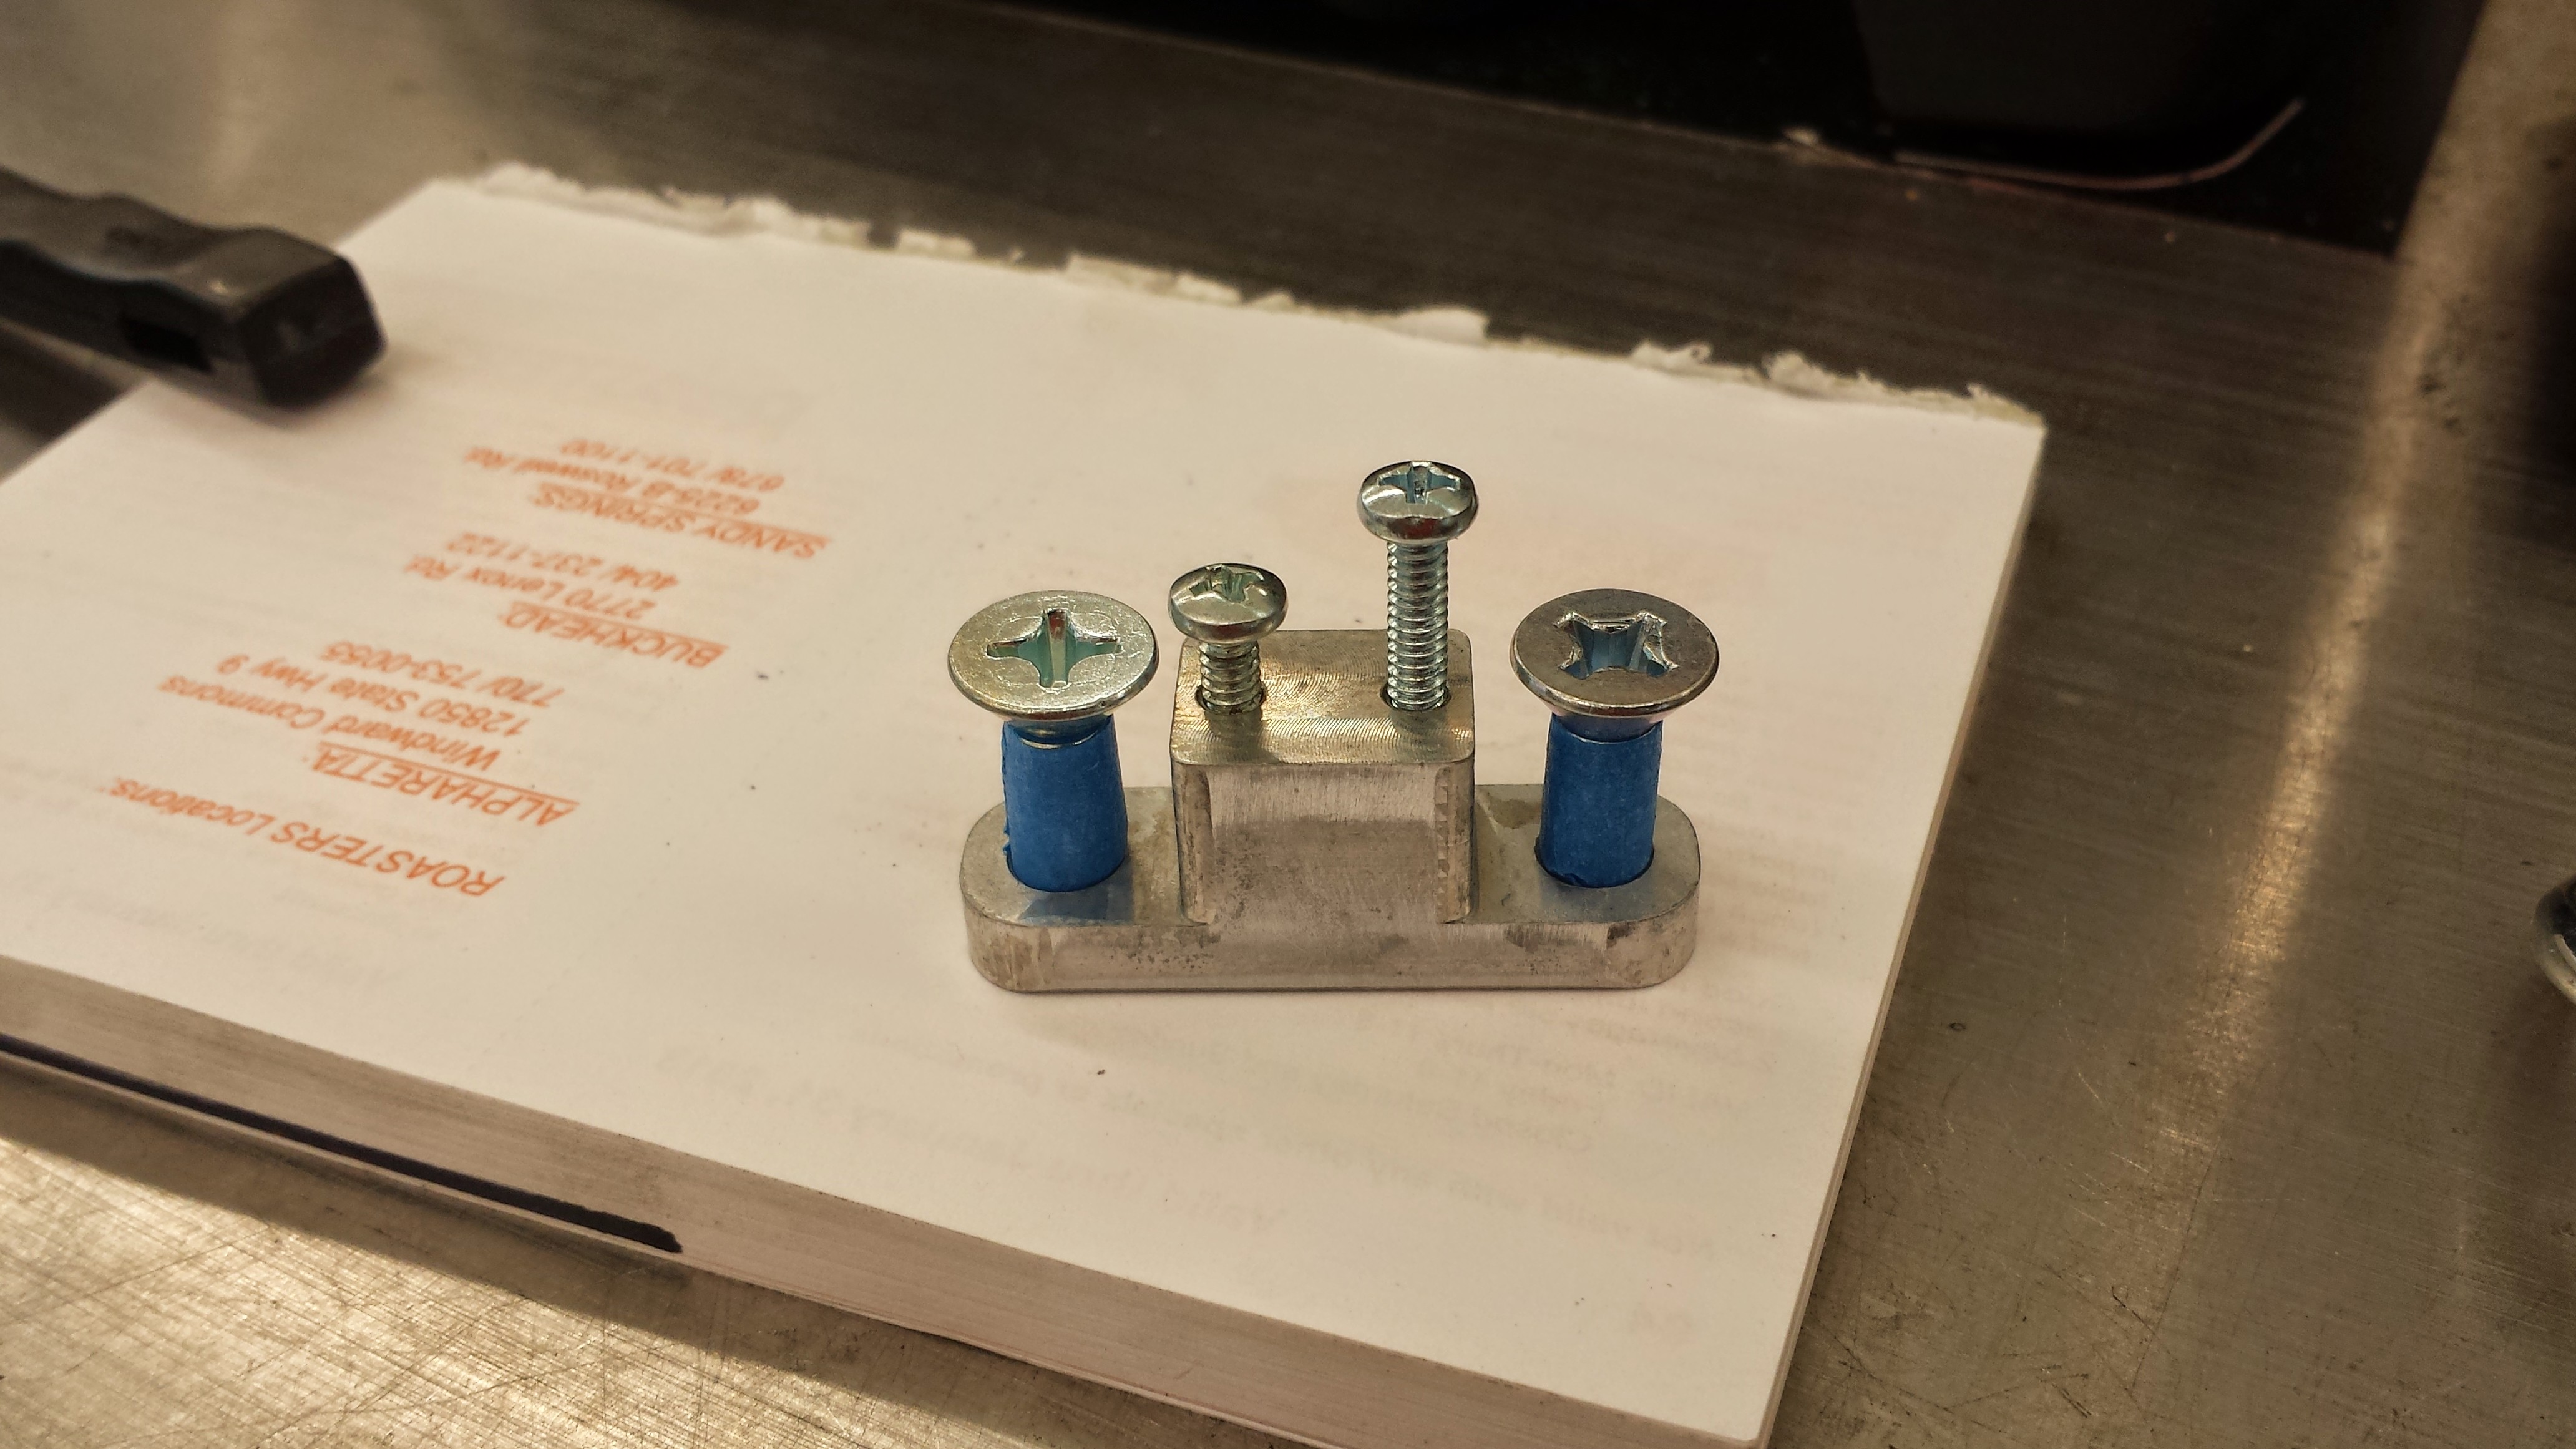
You’ll need to mask off areas in which you don’t want any paint. This is pretty important. You’ll note how I began my process above and below:
- It’s important to note that the key will work regardless of whether or not you elect to paint the roll pins or not. I wanted a uniform color for the base, so I painted my pins.
- A single layer of painters tape or masking tape should be sufficient to get a snug fit and protect the 1/4 in. dowel mortises. Simply trim off any excess from your 1/4-20 screws.
- As Doug points out in his guide, but it bears repeating, make sure to leave enough masked room on the underside of the base for proper grounding of your key. I used washers underneath the heads of the screws where the “T” wishbone goes in order to accomplish this.
- Don’t forget that the set screw hole on the front needs to be masked. By using a longer screw, you have the ability to use it as a handle while painting or moving the base.
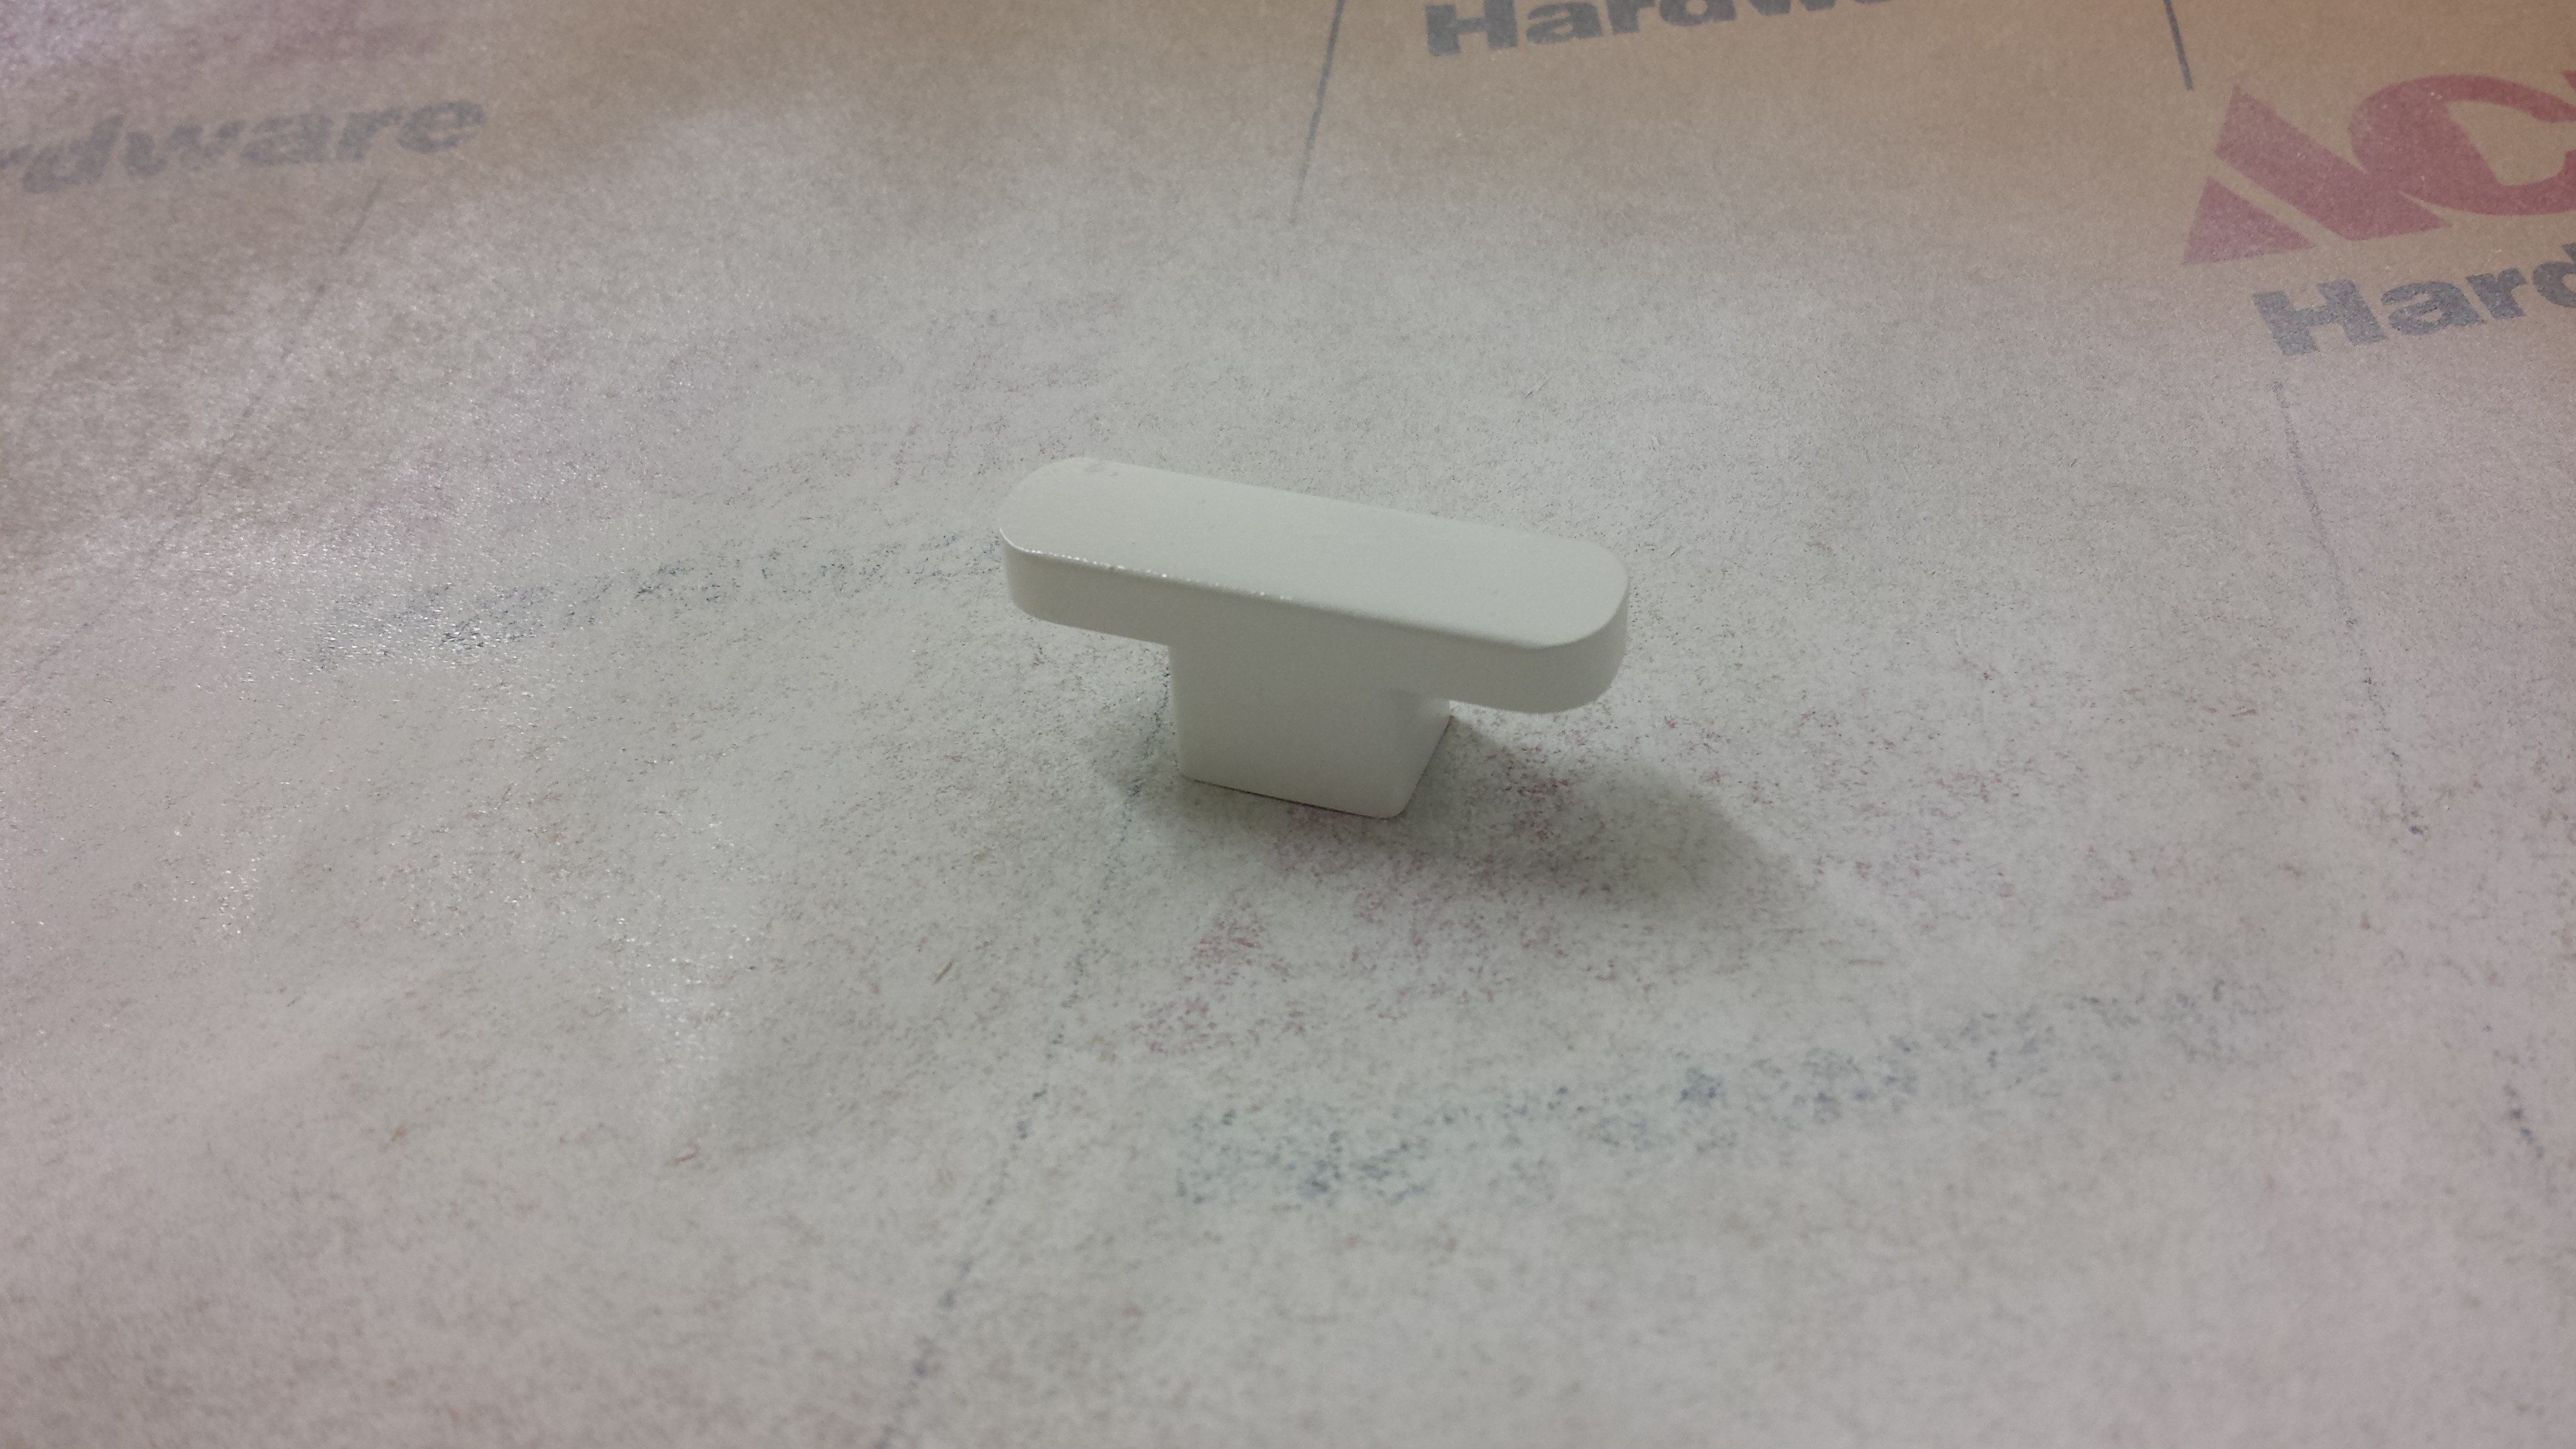
I’m a big believer in Ospho, but I still wanted to give the key the best chance for holding on to the paint I was going to apply. I lightly primed the base and “T” white.
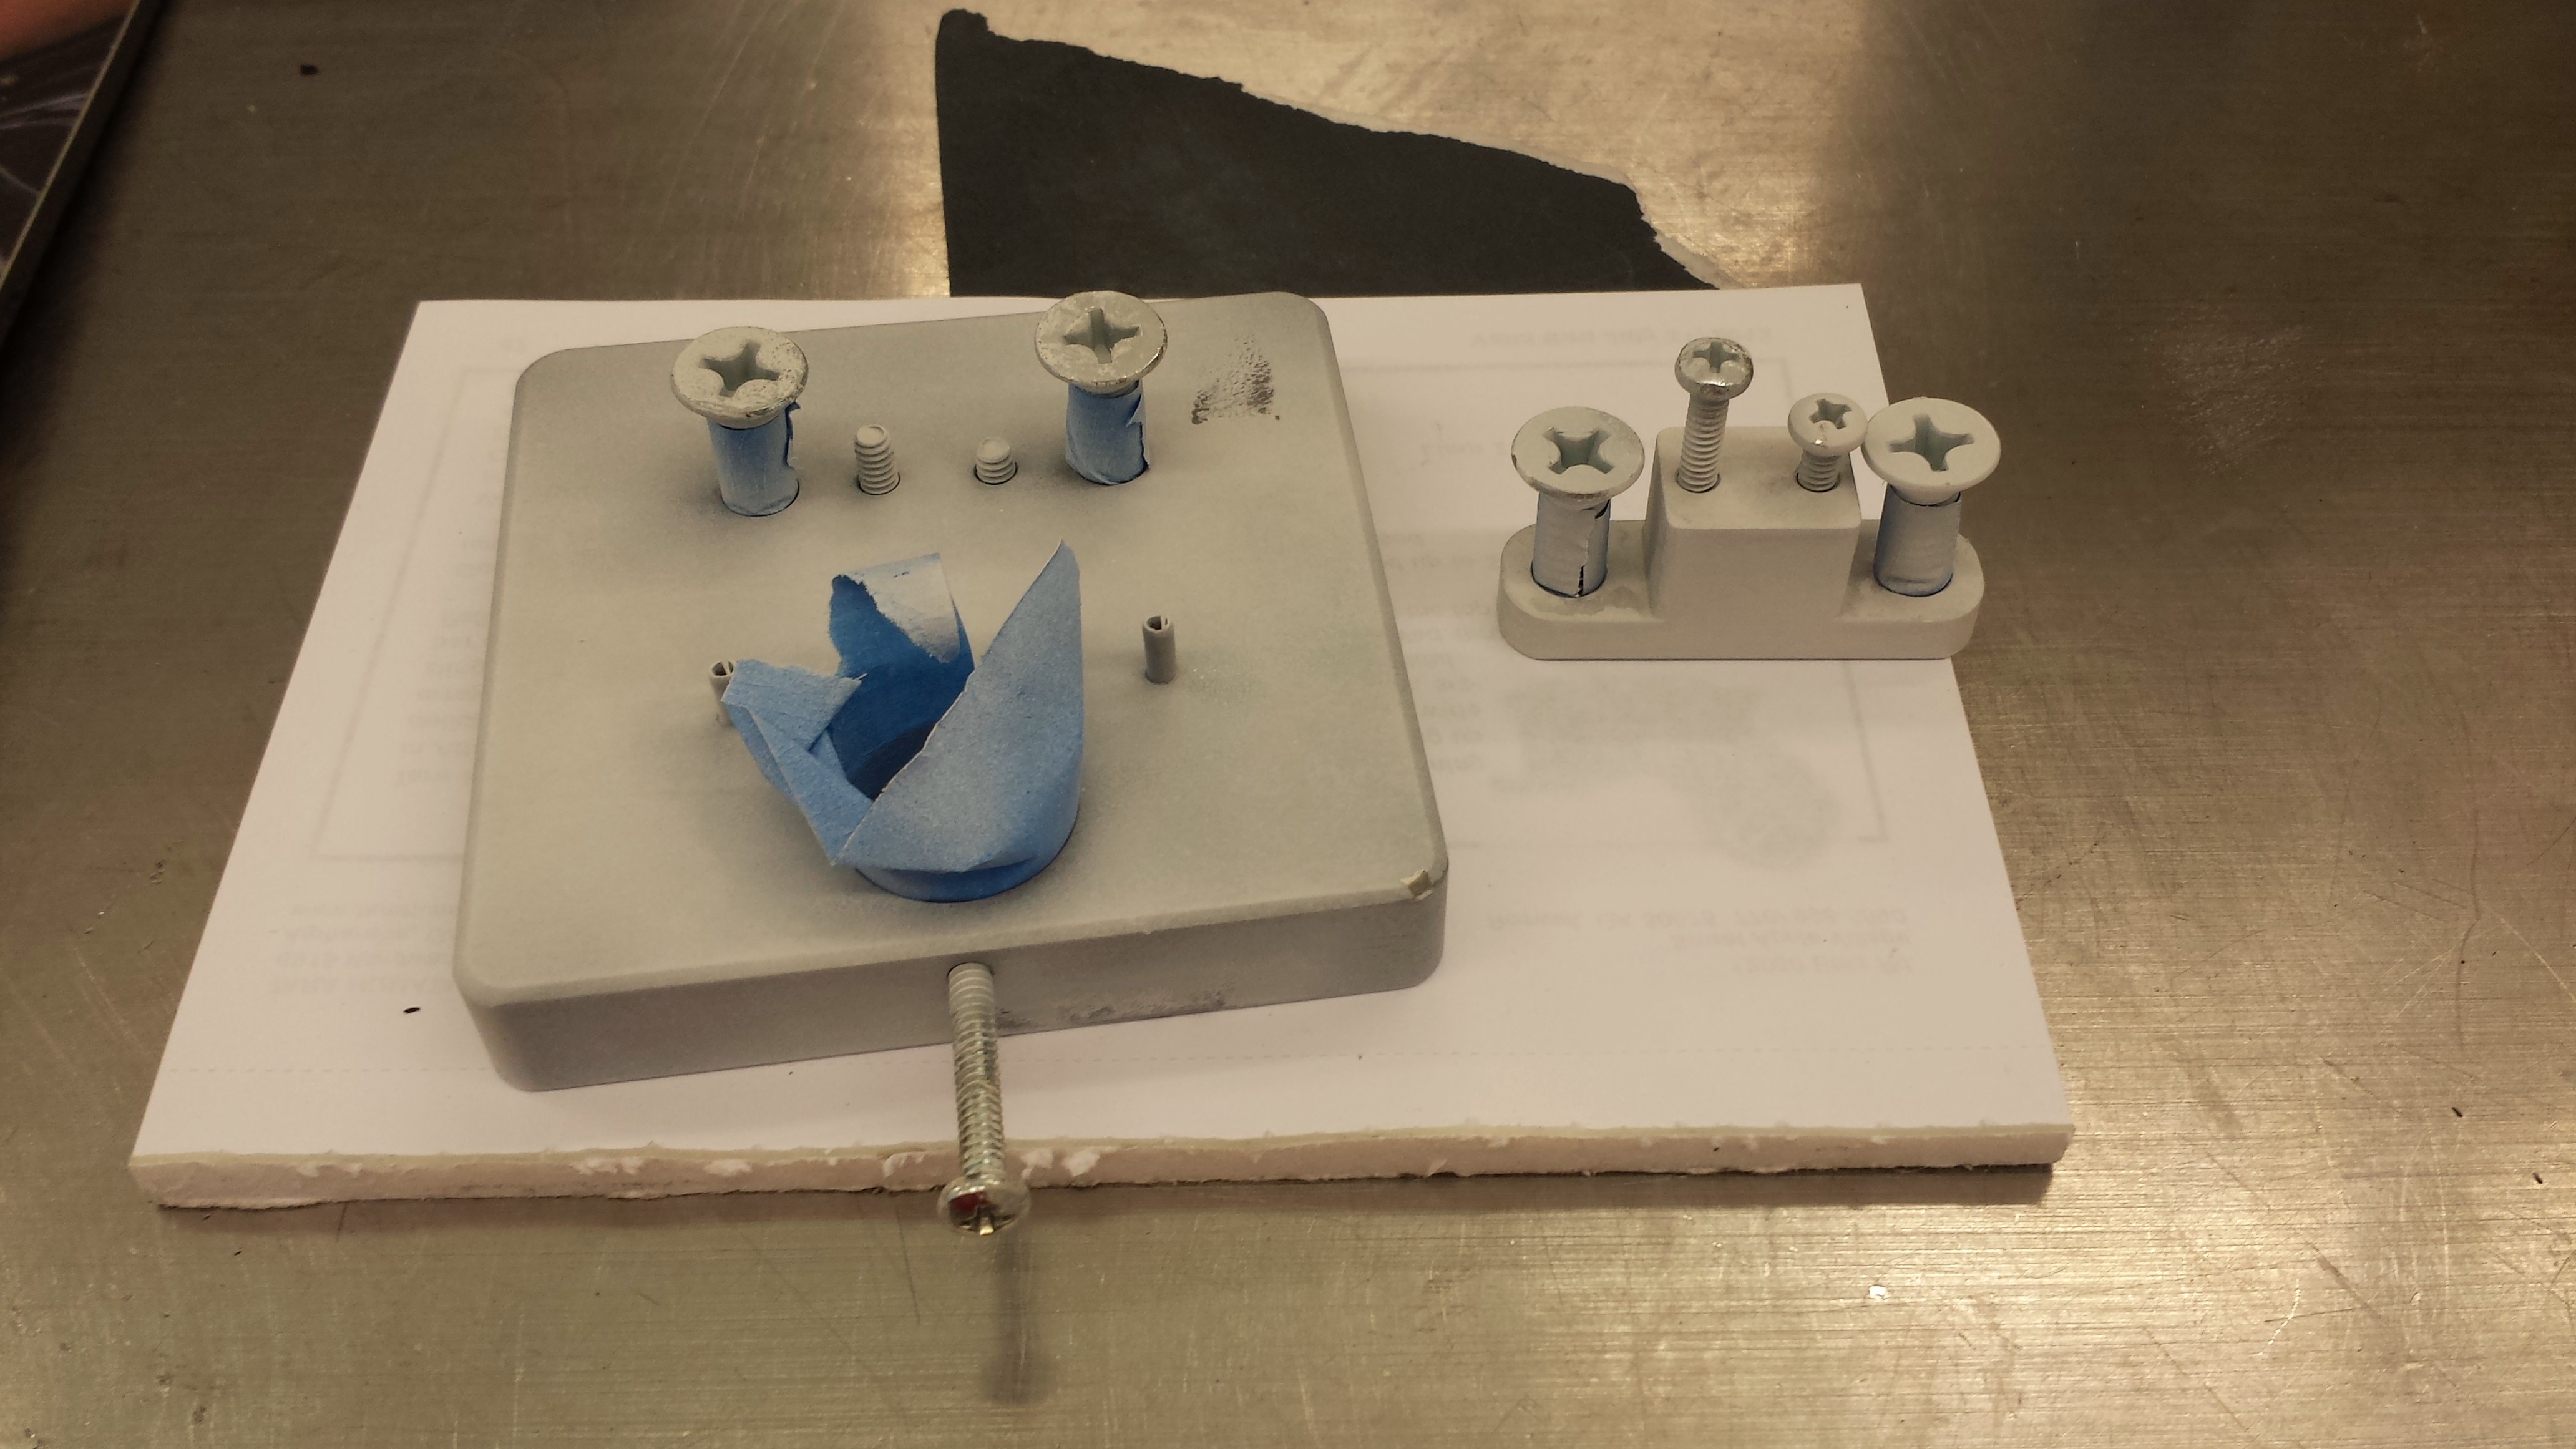
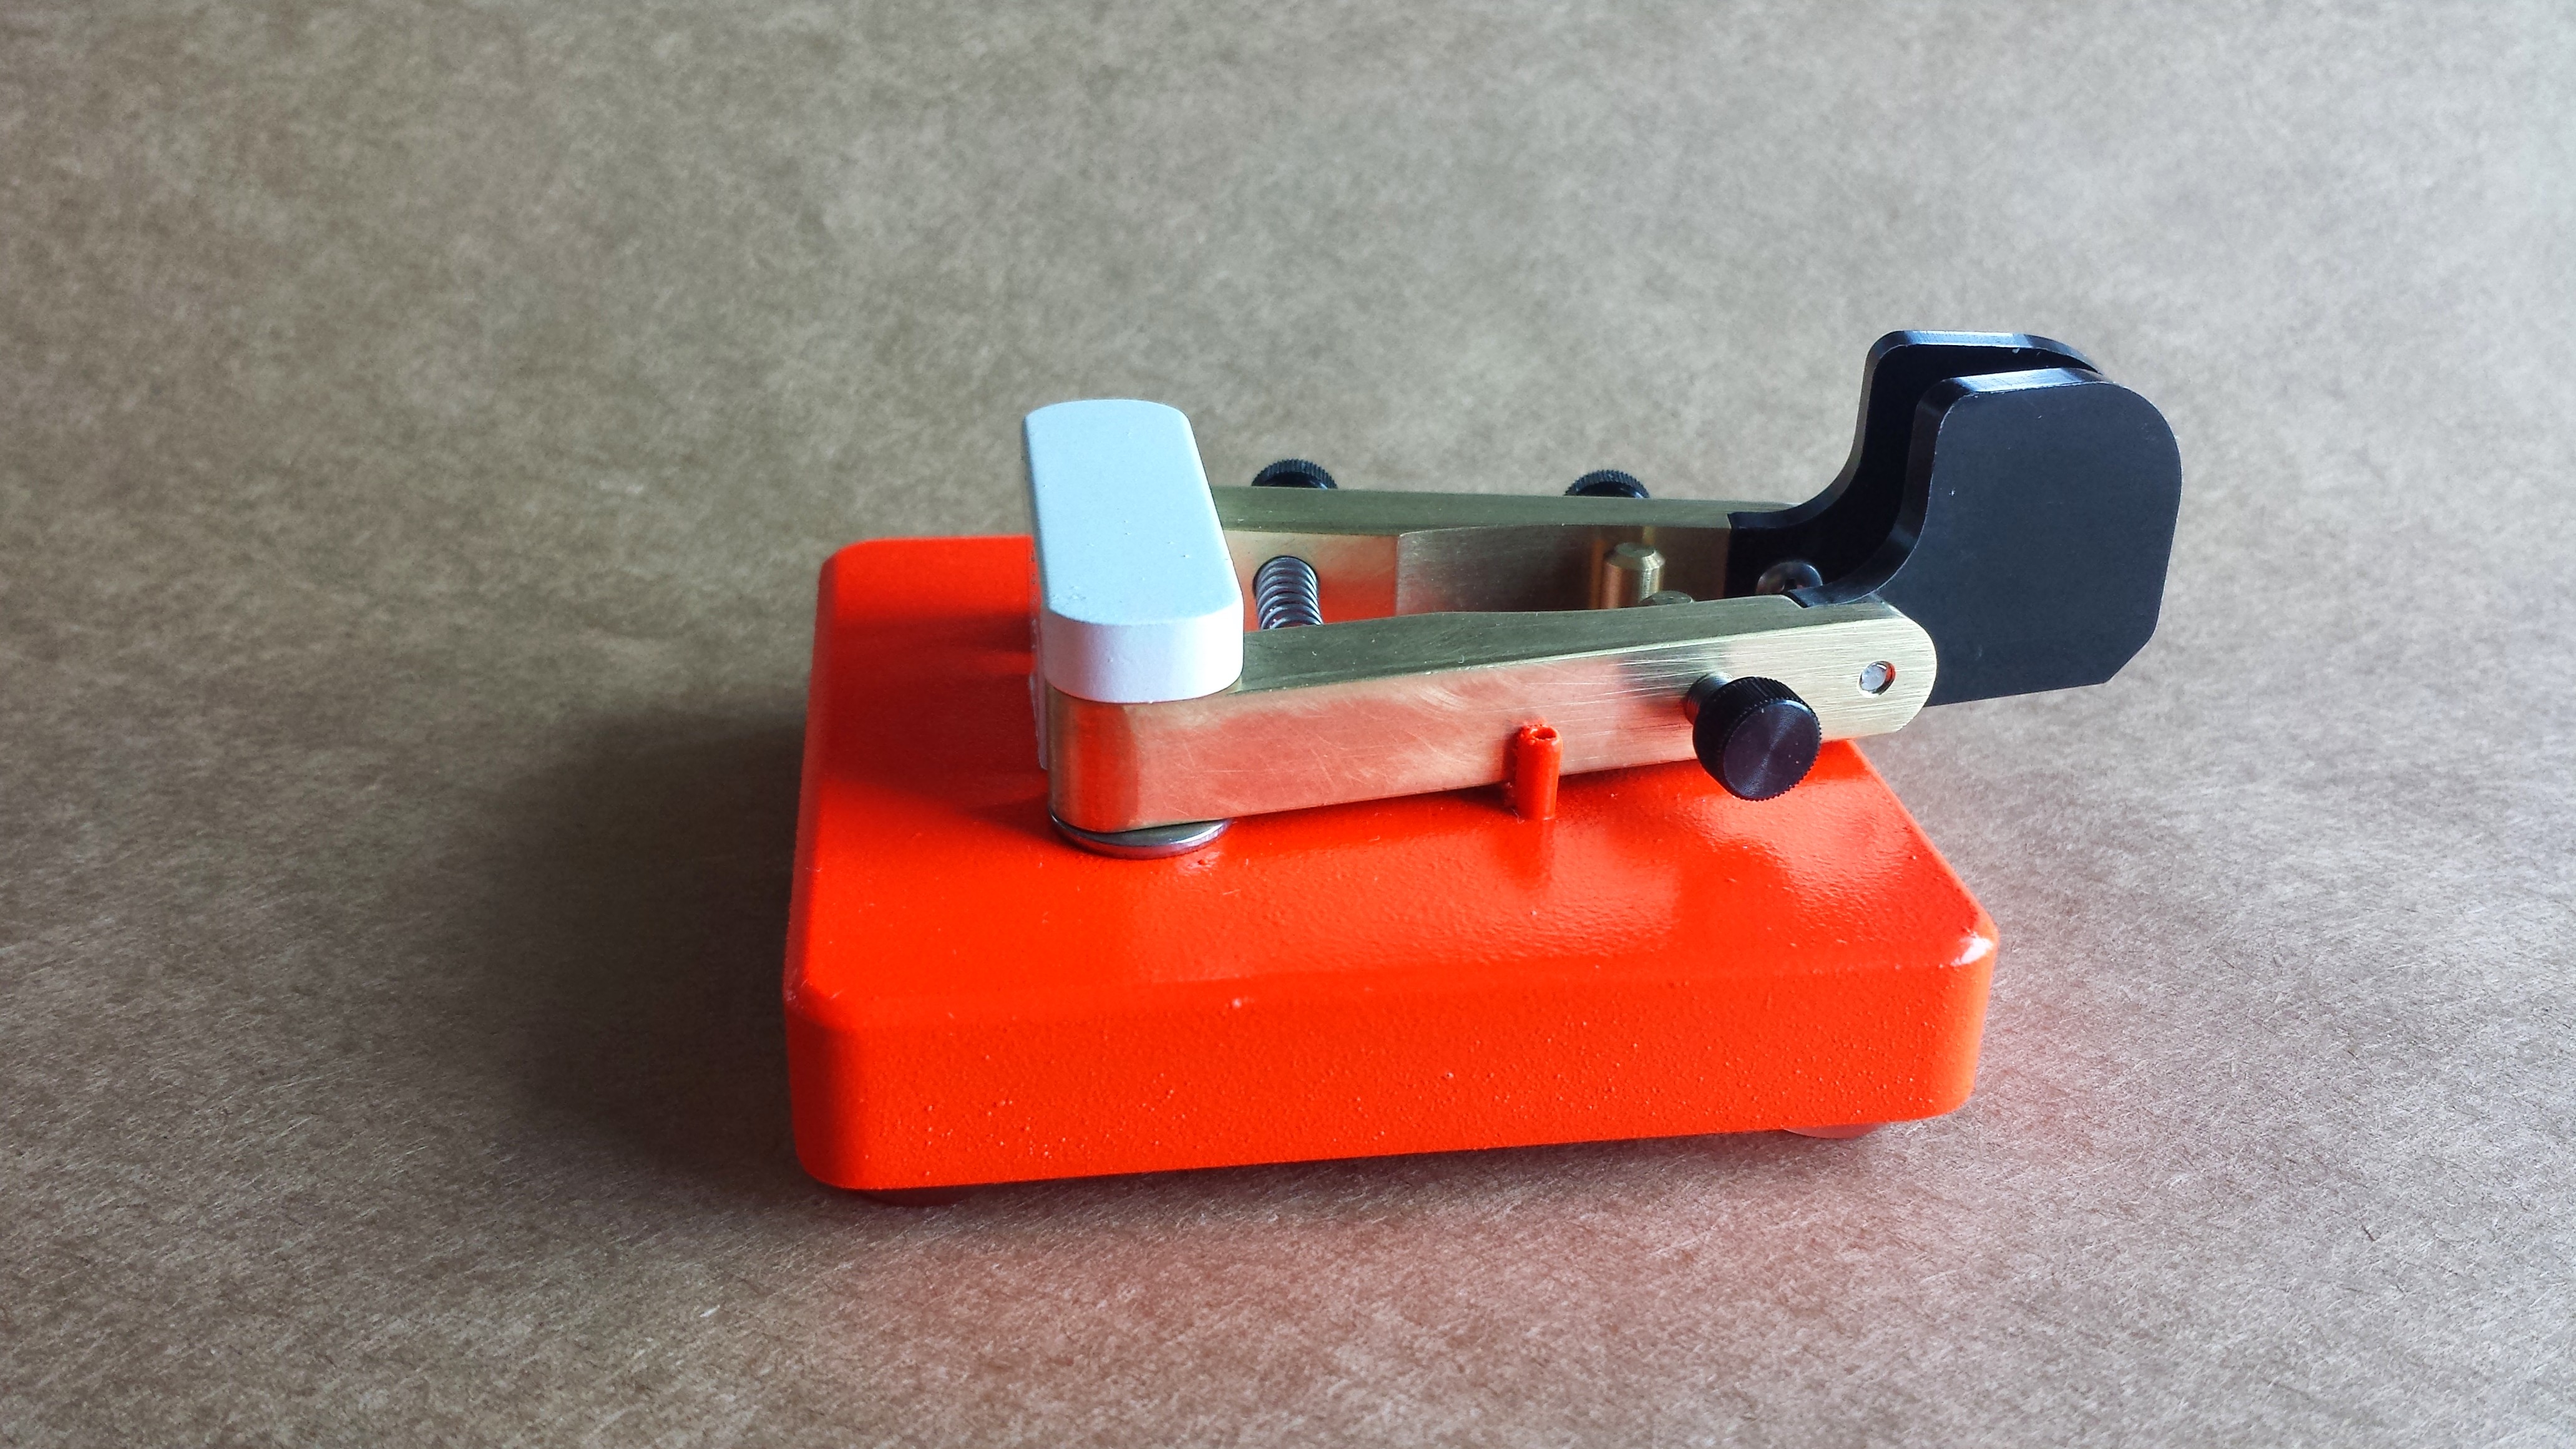
I elected to paint my KK2-A orange both because I’m from Tennessee and should I take it camping, it would be much more difficult to lose in the weeds. But I wasn’t going to pick just any orange, either. I chose fluorescent orange spray paint. I wanted this thing to be seen from space.
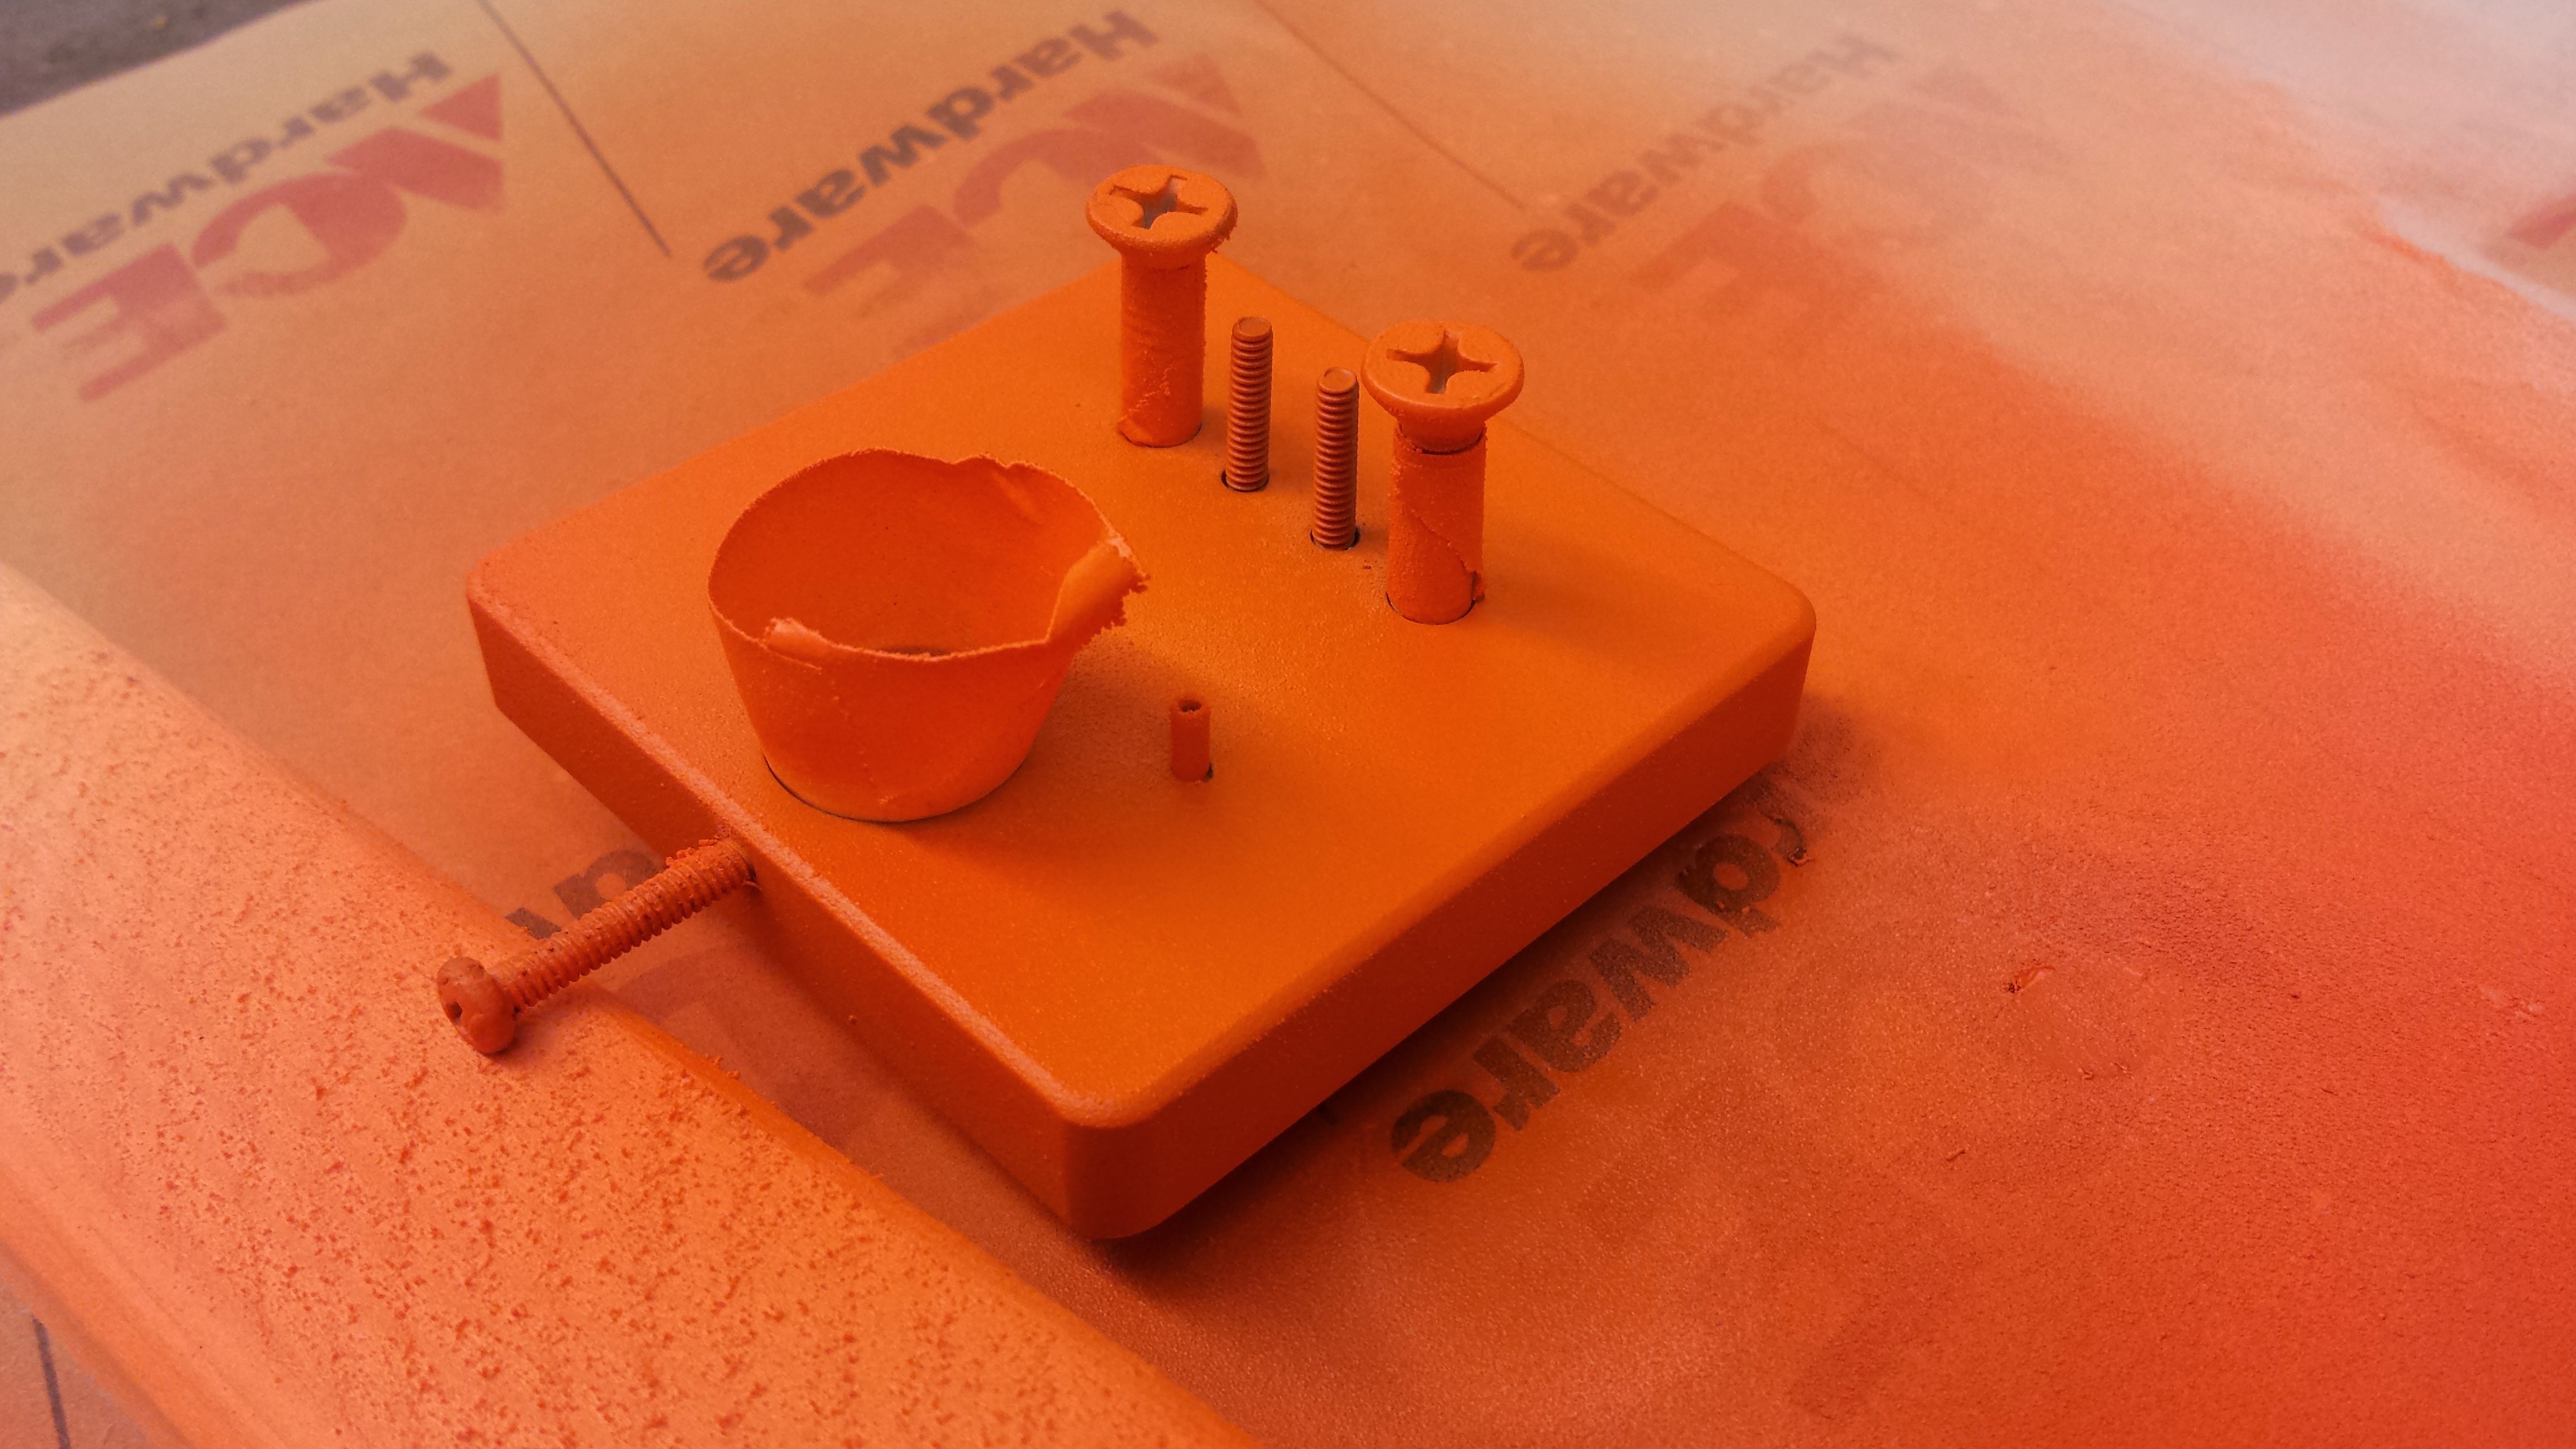
For contrast, I elected to paint the “T” white to complete the theme.
Once everything had been painted in multiple, small coats and dried, I then clear coated the base and “T” with clear gloss lacquer. I did two thin coats- the sky is the limit here. After the parts dried, I then began another test fitting to make sure everything went together correctly. As it turns out, I masked everything perfectly and didn’t have any fit or function issues with either the set screw hole, the throughway for the 6-32 screws or the mortise in the wishbone, or either mortise in the base.
I could have wet sanded in between coats, but elected not to. I prefered a little bit of a rugged look- which was what attracted me to the key in the first place- and so I did no sanding in between coats of paint or between paint and clear-coat.
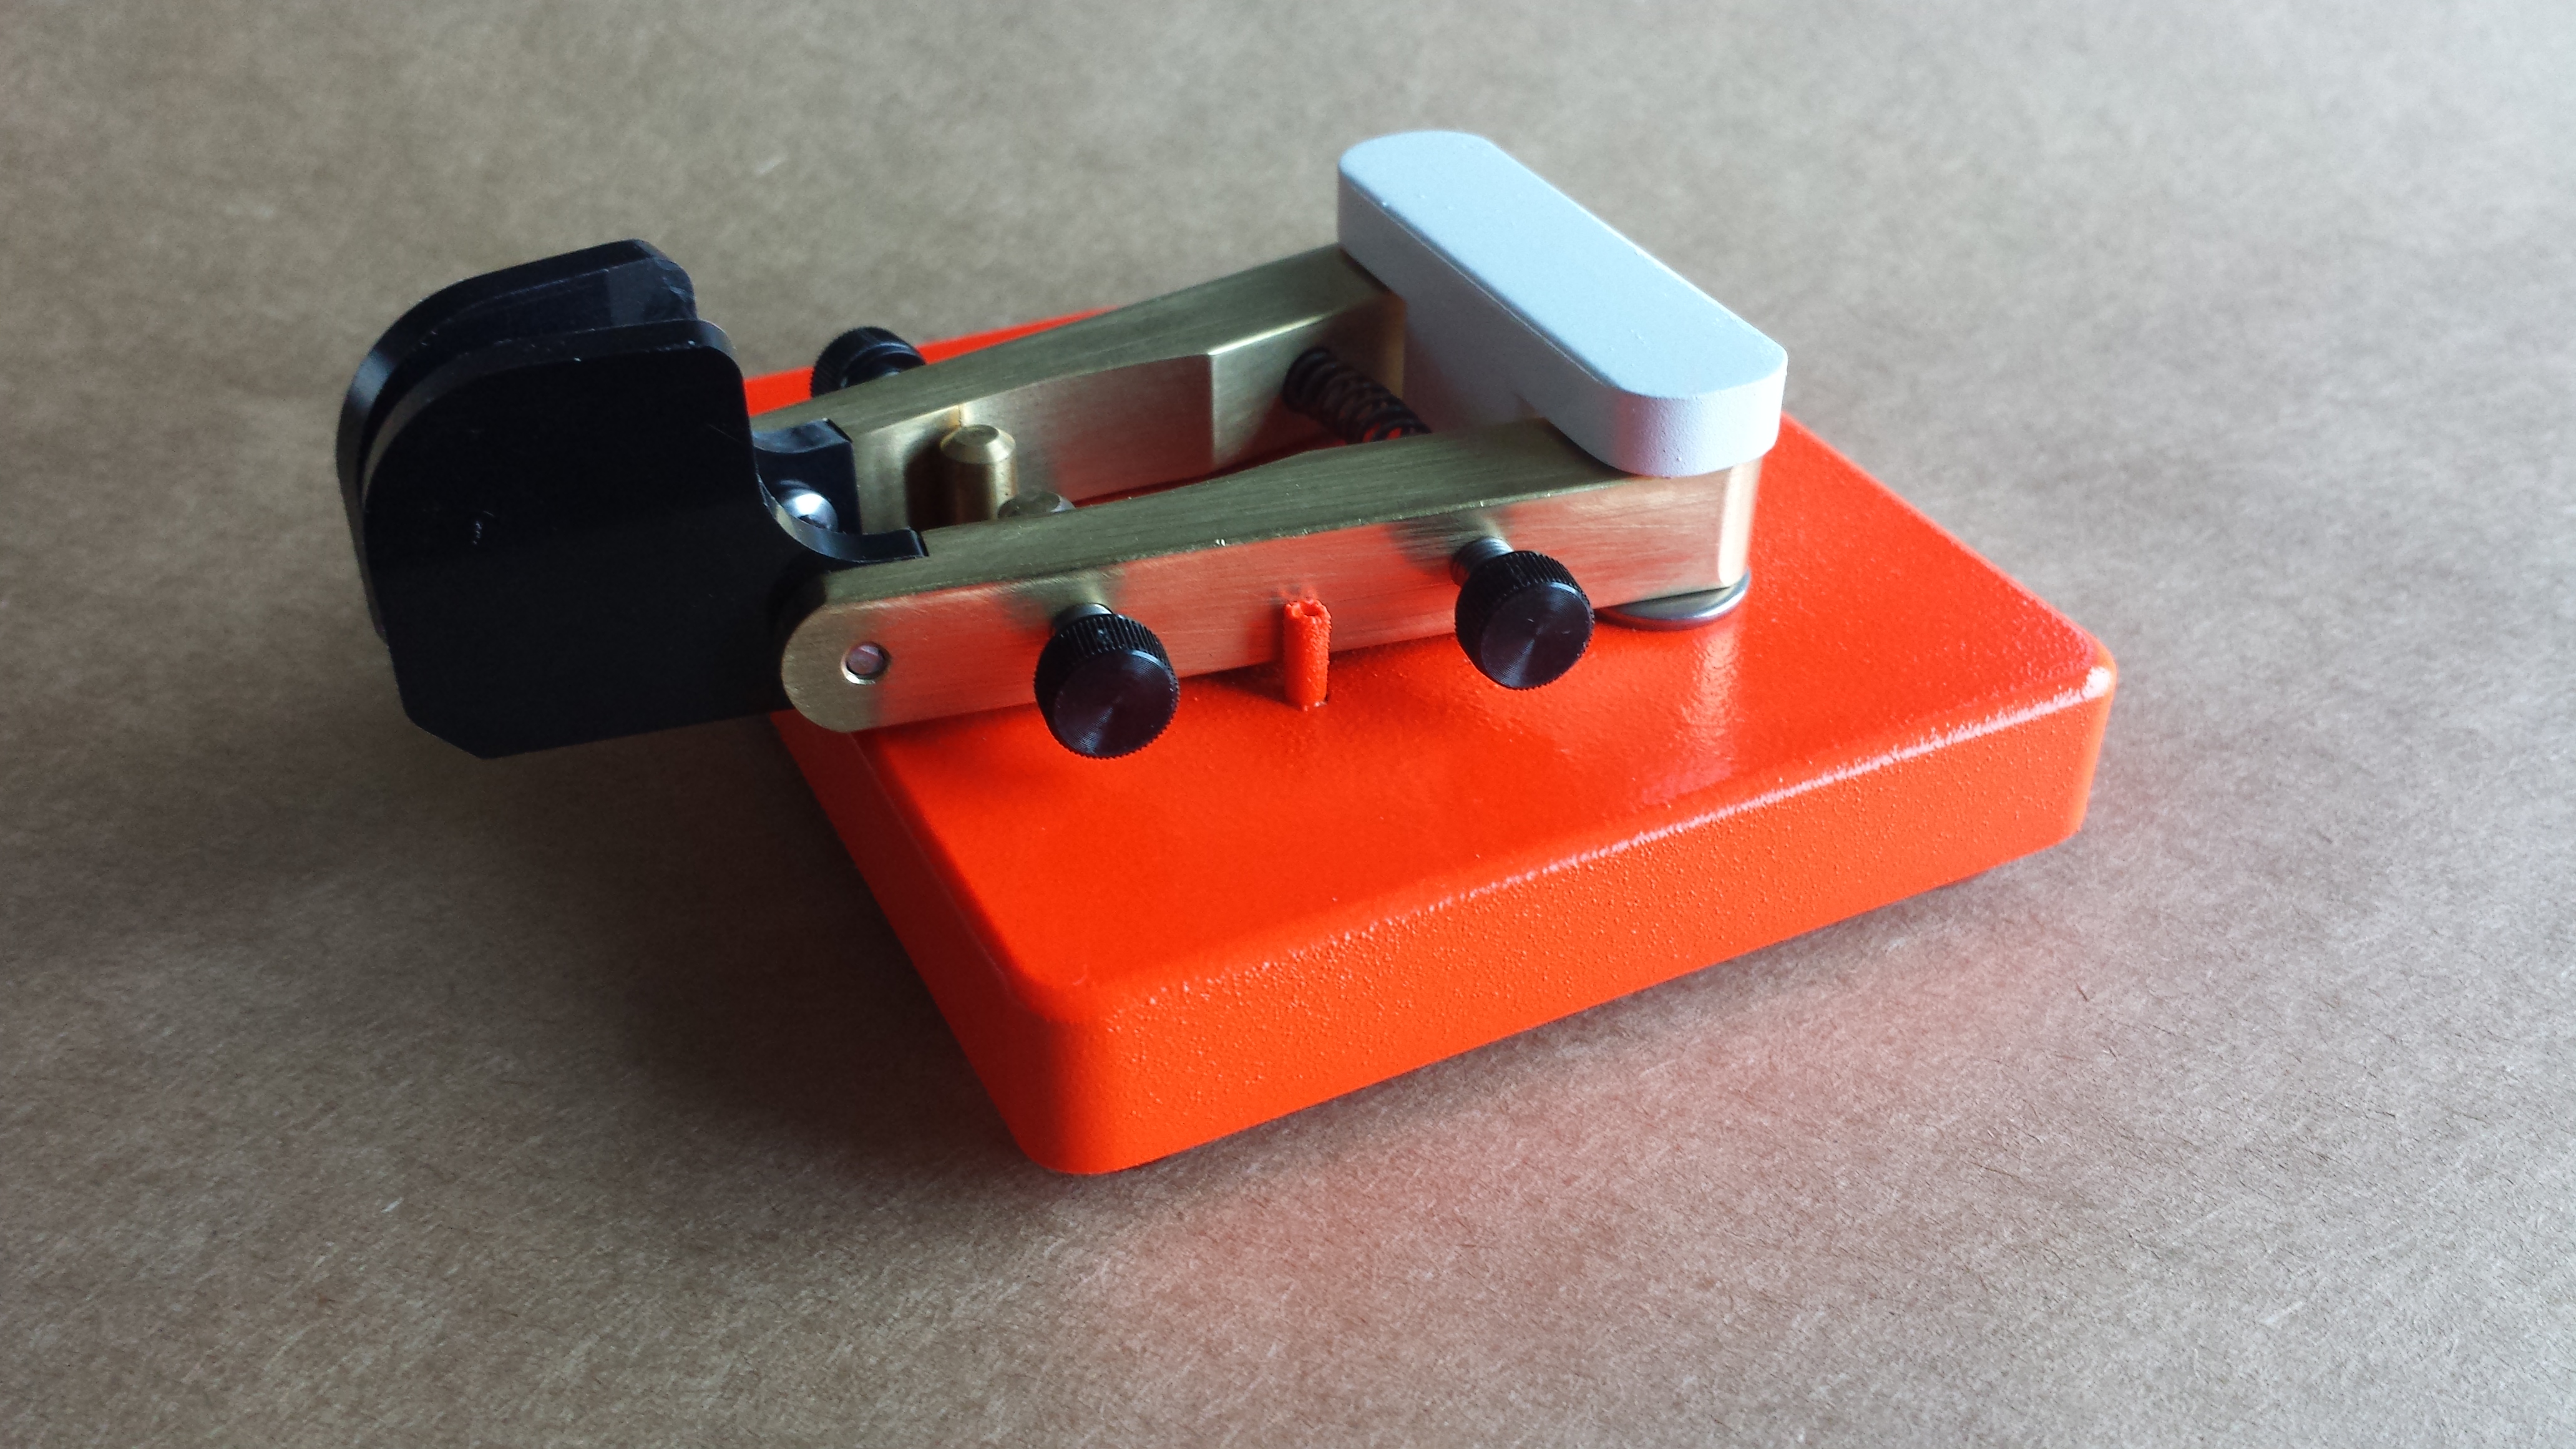
Et Voila! The completed key (I may call it “Cutter” since it seems so Coast Guardish):